Creative Director, newly hired by Wonderflex World as the social media coordinator and product demonstrator. She received her MFA in costume production from UNC Chapel Hill in 2014 and now works freelancing for regional theaters, ballet and film. While specializing as a Crafts Artisan, she fell in love with the products Wonderflex and Fosshape and a passion was born. She is looking forward to share her enthusiasm using these products, with newsletters, blogs and videos on social media as well as running workshops and attending conferences spreading the word about thermoplastics. You can see some of Candy's work at Candymcclernan@crevado.com.
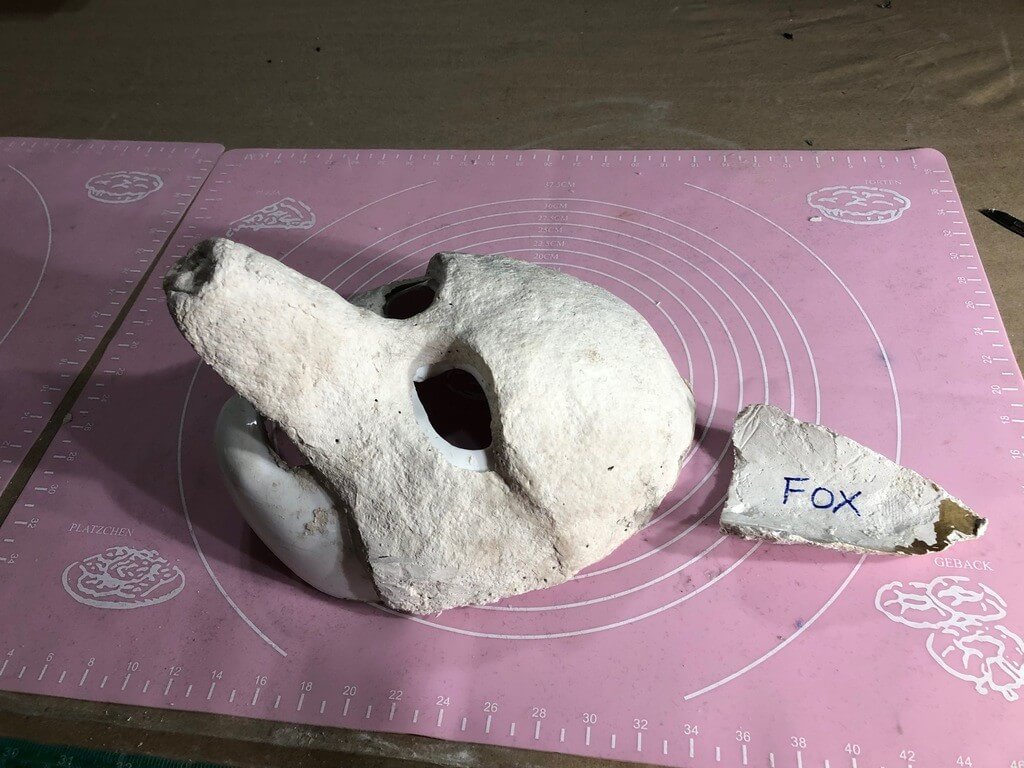
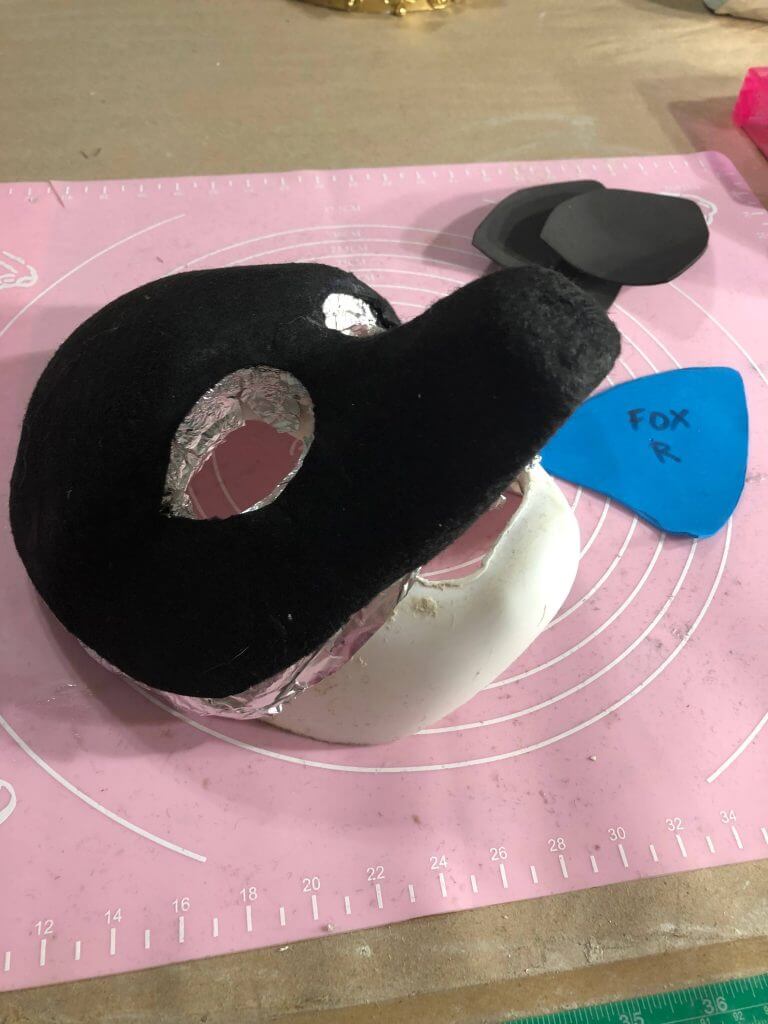
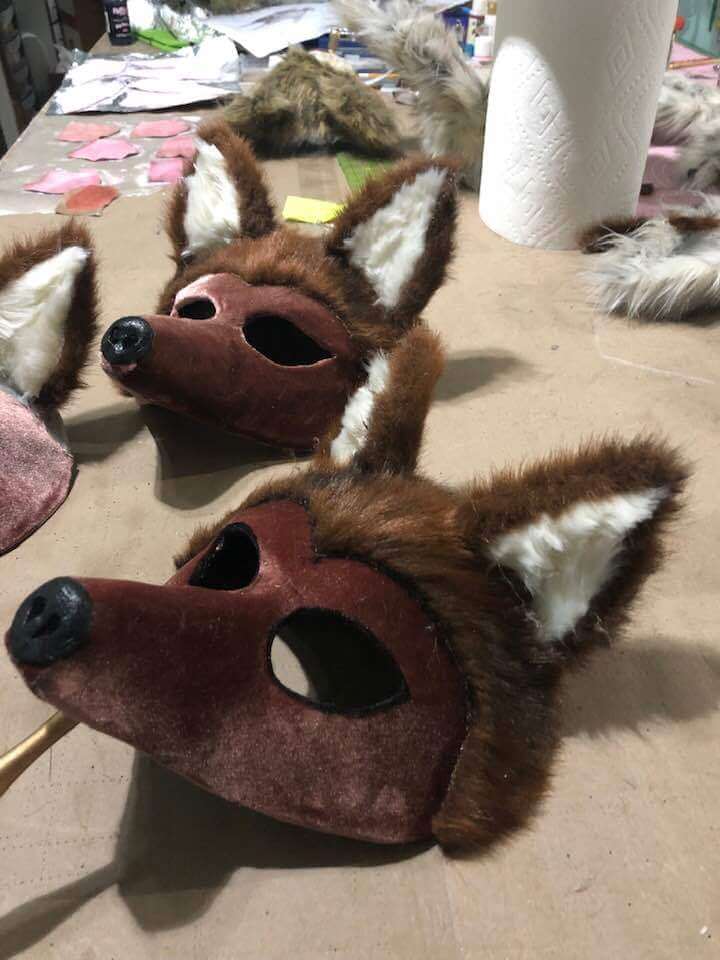
Sculpt your base matrix. This fox base was sculpted from paper mache clay. It is easy to use and can be pinned into. You can use air dry clay or any number of materials to get your base form.
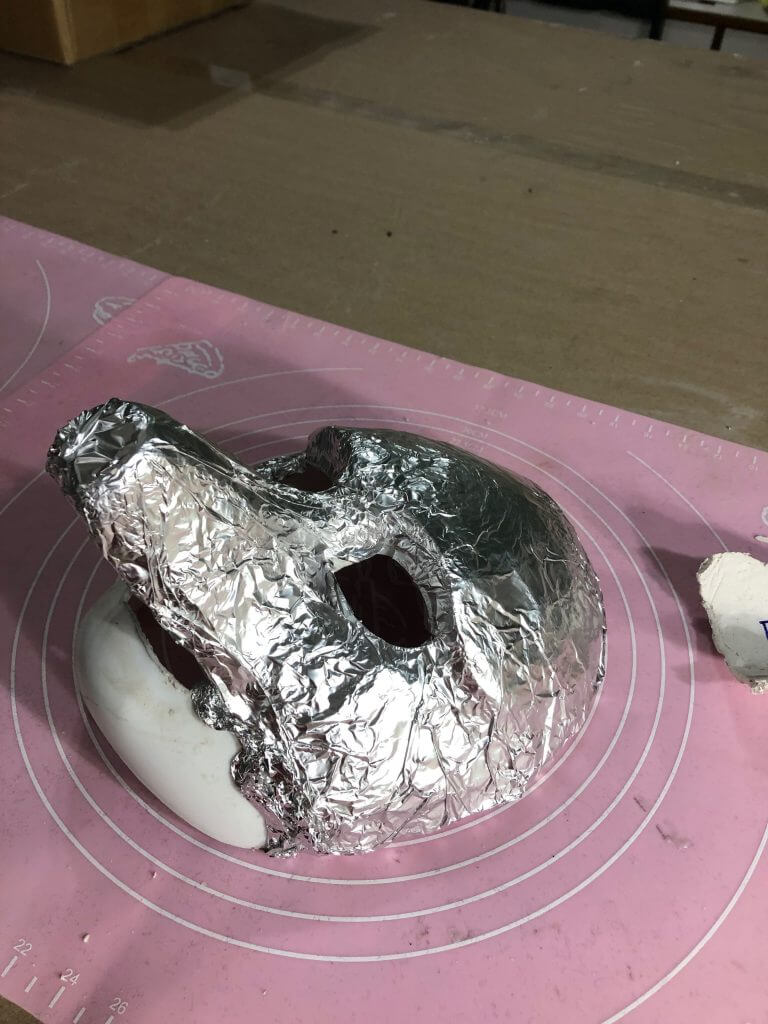
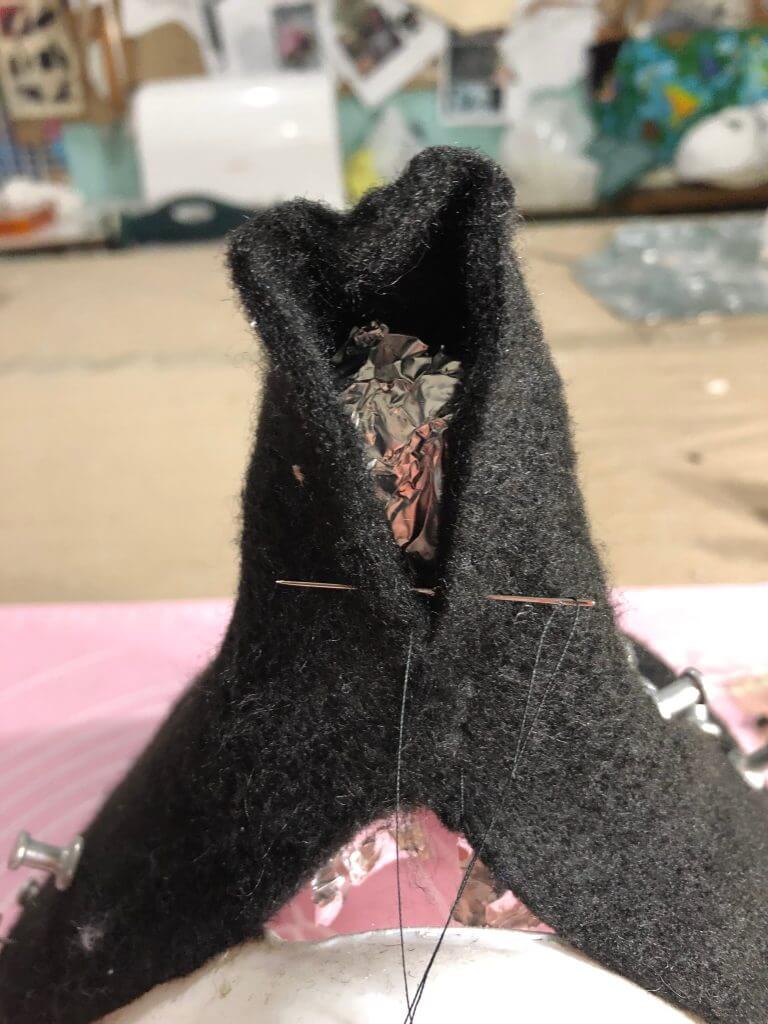
ALWAYS cover your base matrix in a release agent. Here the foil protects the paper mache base from heat and steam from the Fosshape layer. Wonderflex can be used alone to form the mask and it would adhere to the foil and not your base.
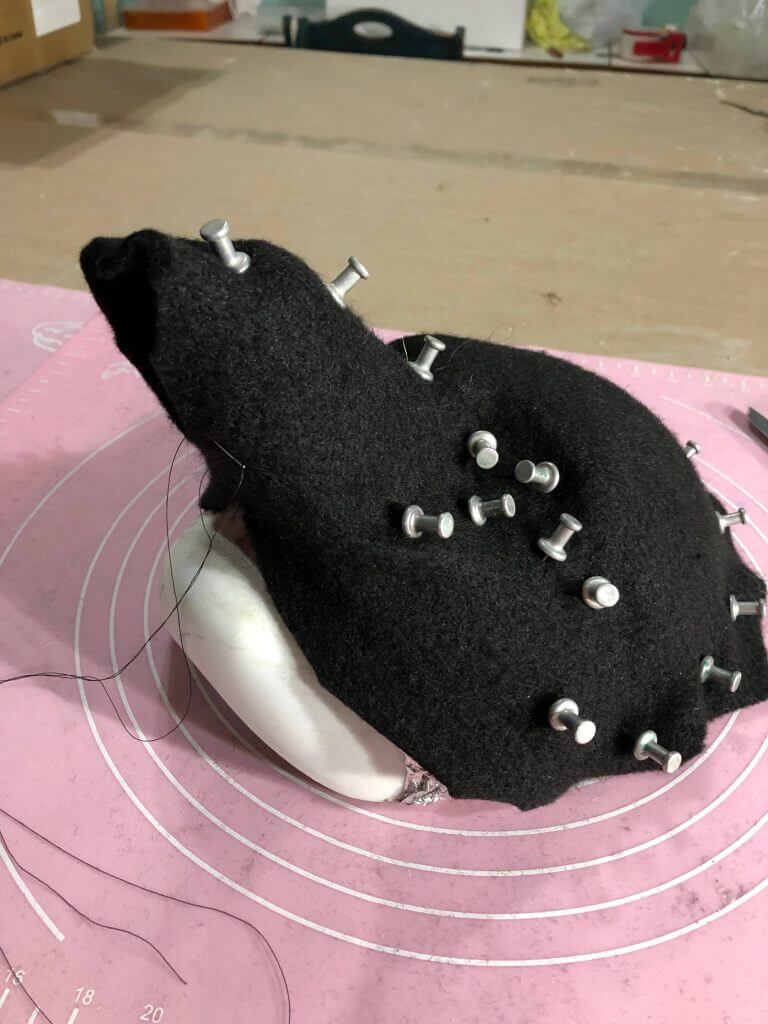
For this fox mask Fosshape is pinned to the base in preparation for steaming. Fosshape is a base for the mask and remains somewhat soft for the wearer. You can use Just Wonderflex. Remember to leave extra around the edges to allow for shrinkage.
Stitch the seam to form the snout cutting away the excess. Once the Fosshape is steamed and pressed the seams virtually disappear.
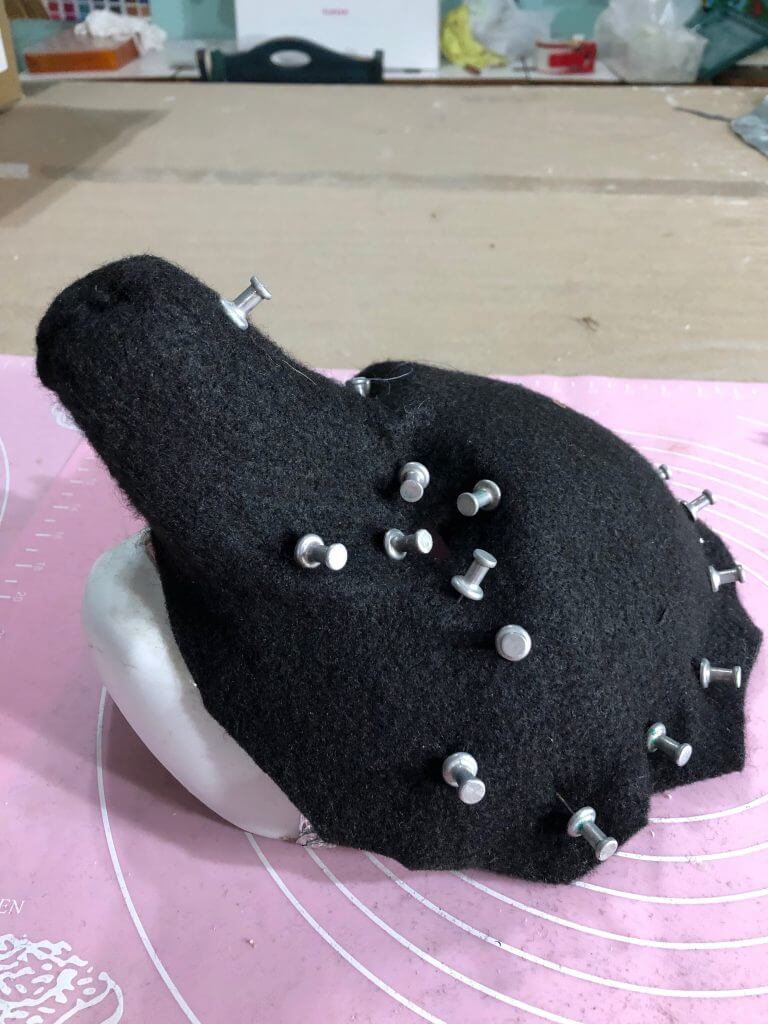
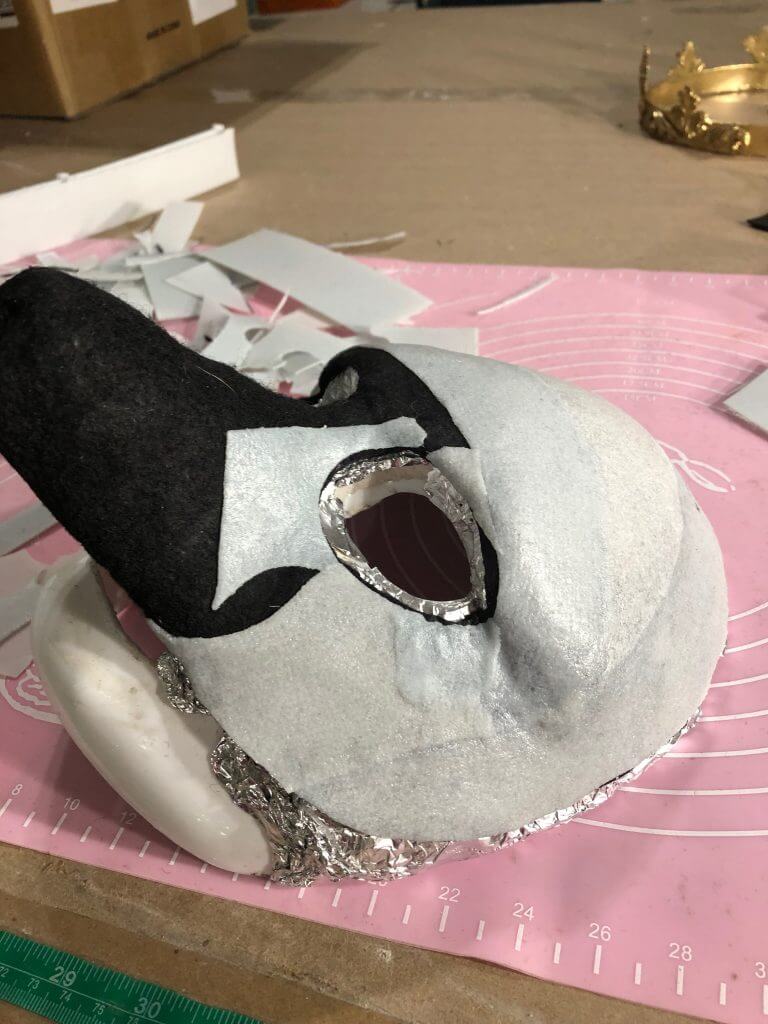
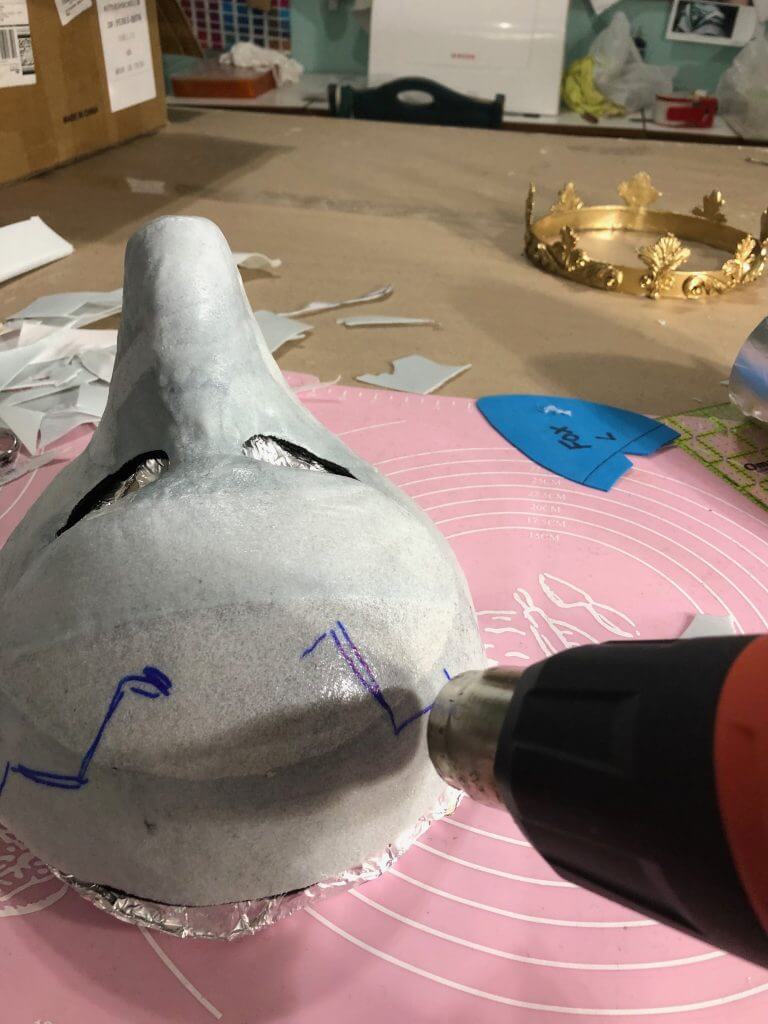
The mask is now ready to be heat activated with steam and pressure.
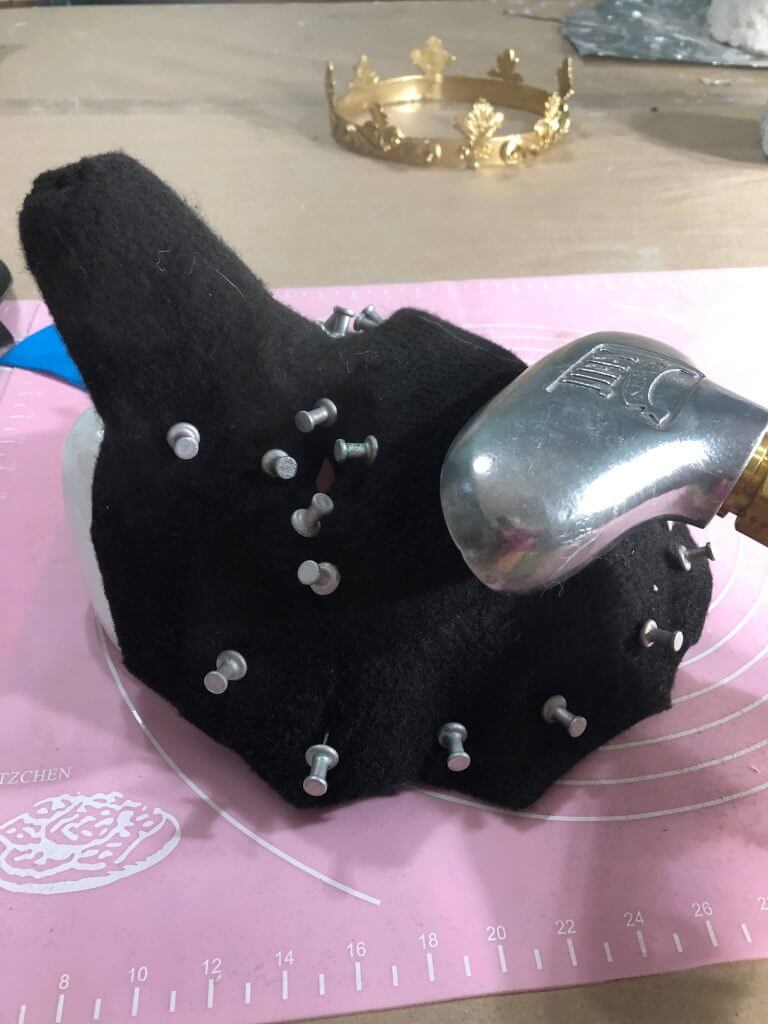
Using a steamer or a steam iron activate the Fosshape. The more heat and pressure the more rigid the Fosshape becomes. Remove the pins as you work your way around the mask.
The area around the eye holes are easier to form if you put a small slit into the center of the eye hole. Don’t cut away any or make it too large so that when the Fosshape is activated it will not shrink beyond where you want the eye hole.
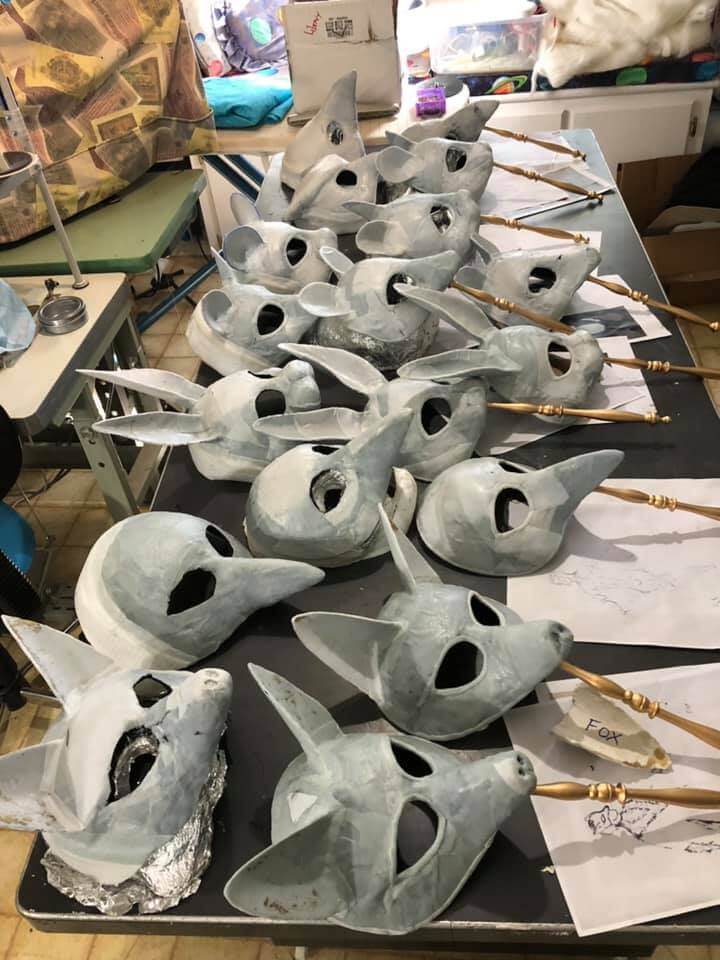
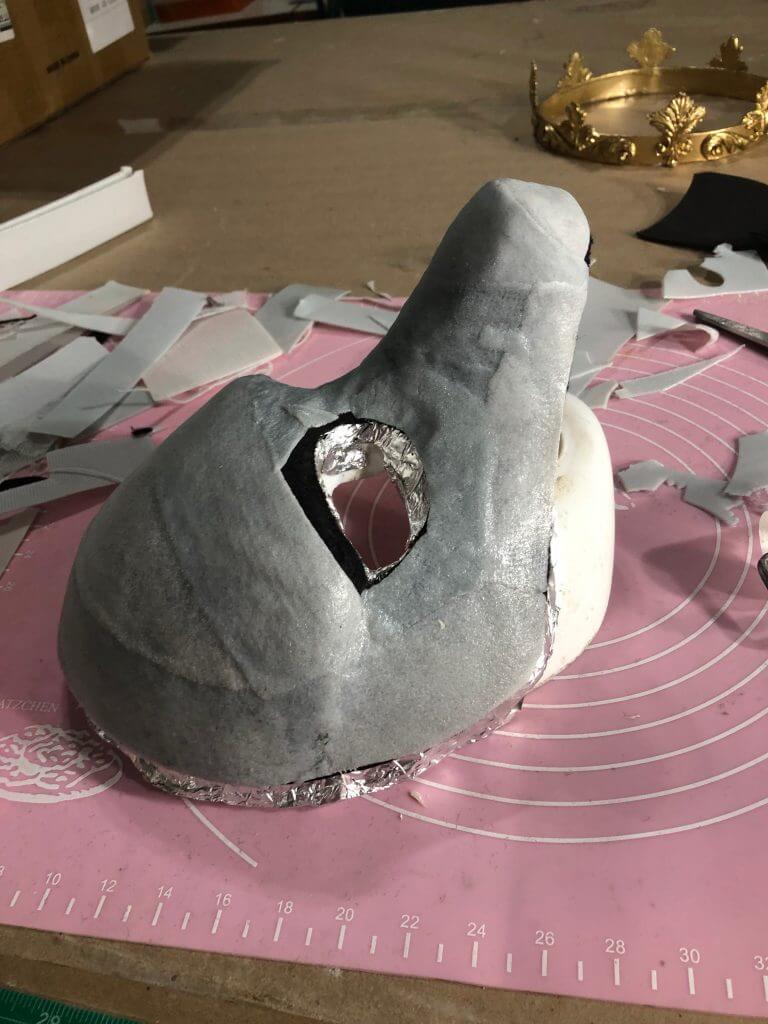
Once the Fosshape is fully activated and firm remove from the matrix and trim the edges and eyes.
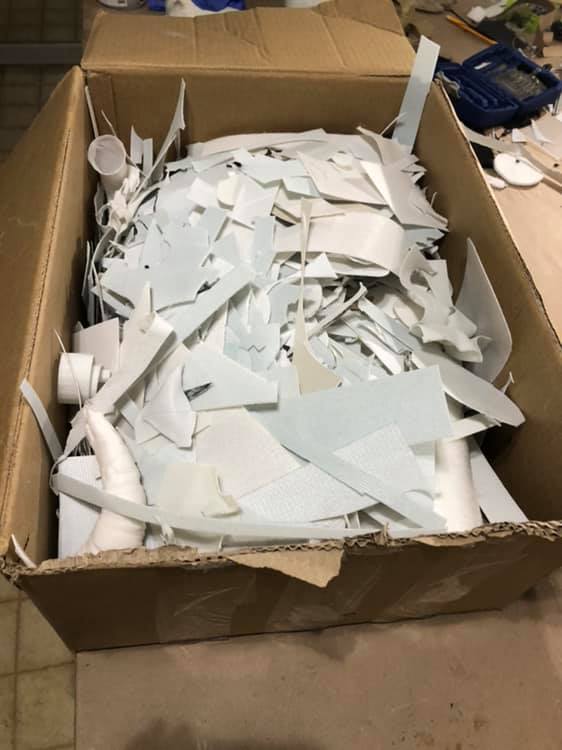
Now for the fun part! If you have scraps lying around use those to build your mask. You can start with a fresh sheet but there is something satisfying about using up scraps.
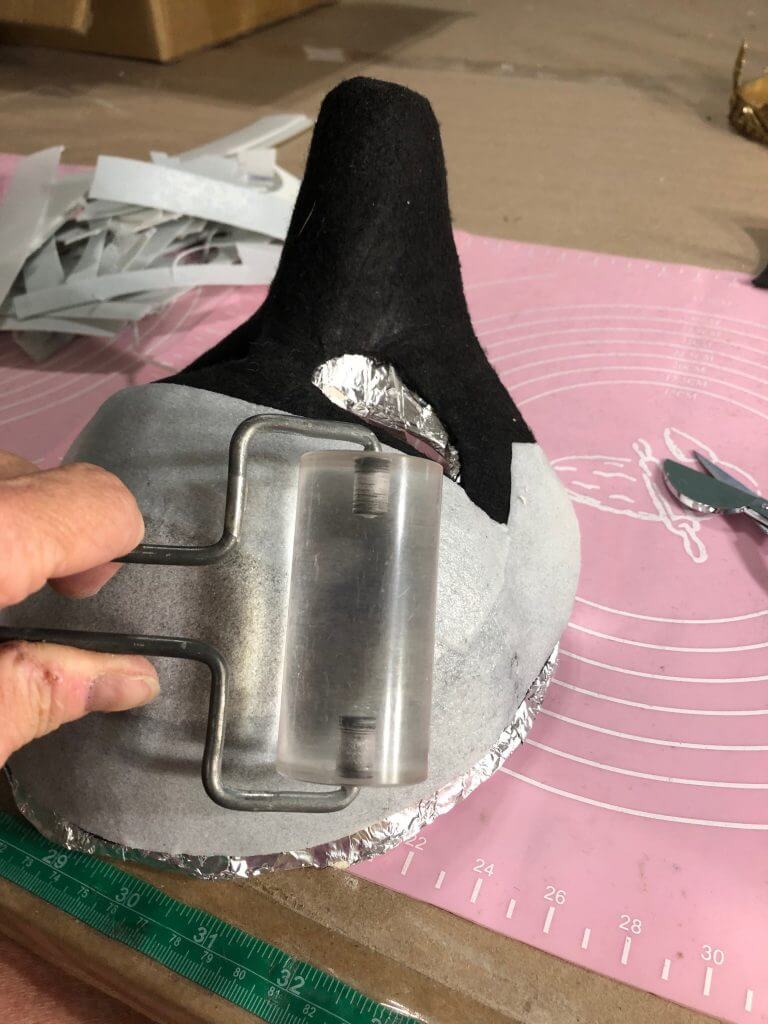
Now lets play tetris! Heat your Wonderflex scraps and begin adding them to the Fosshape mask. Overlap the edges.
To smooth out all those joins us a roller, fingers, back of a spoon to blend the edges. Make sure the Wonderflex is heated to where it is just malleable but not too hot to stick to the roller, spoon or your fingert! I like to keep a cup of water next to where I work dip my finger in to test the Wonderflex.
For this application the mask is being covered with furs and fabrics so the seams do not have to be perfect.
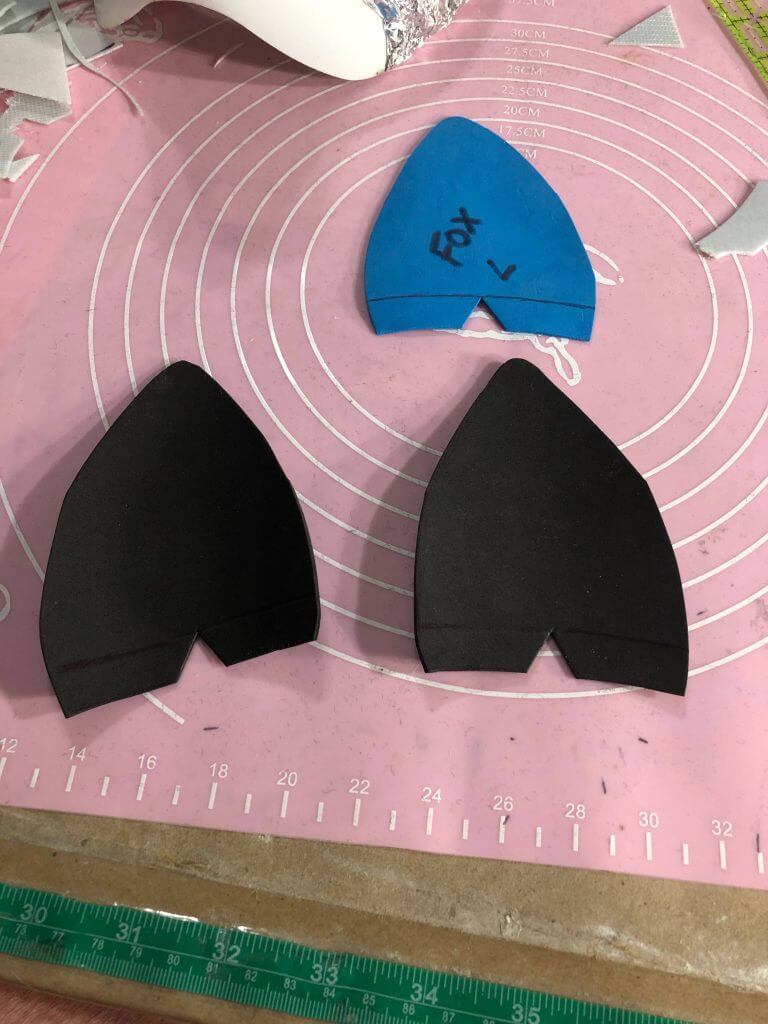
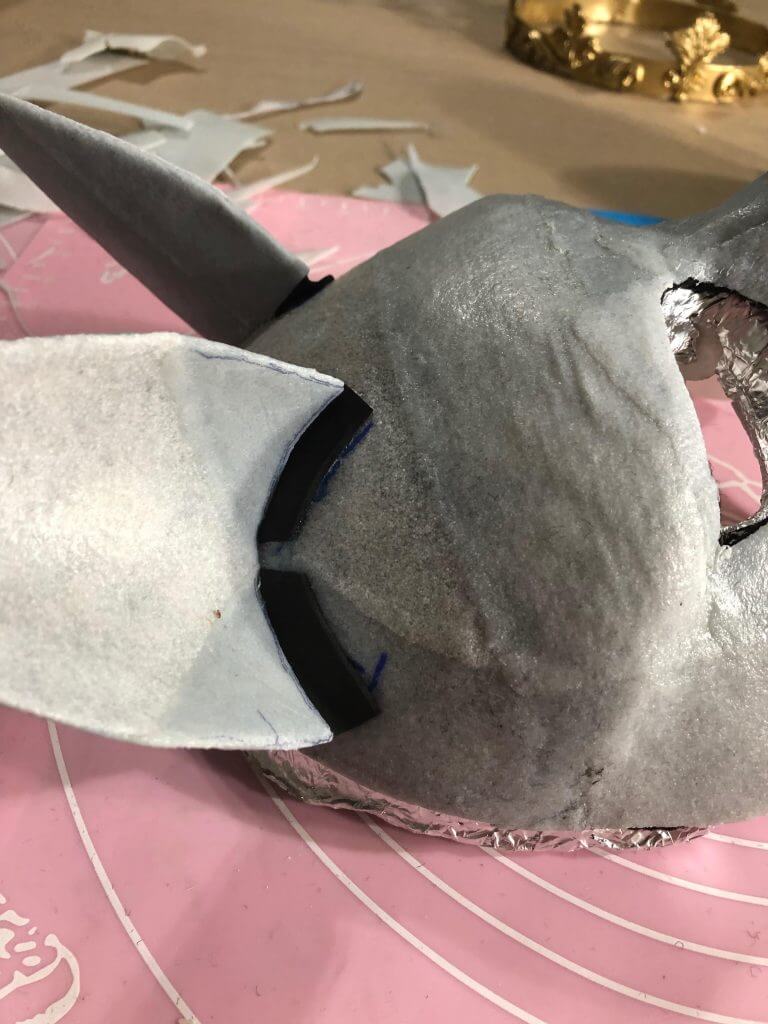
Now for the ears. Cut your ears out of eva foam or you can make them out of Fosshape. For this application they needed to be rigid and covered with fur so eva foam and Wonderflex is the way to go.
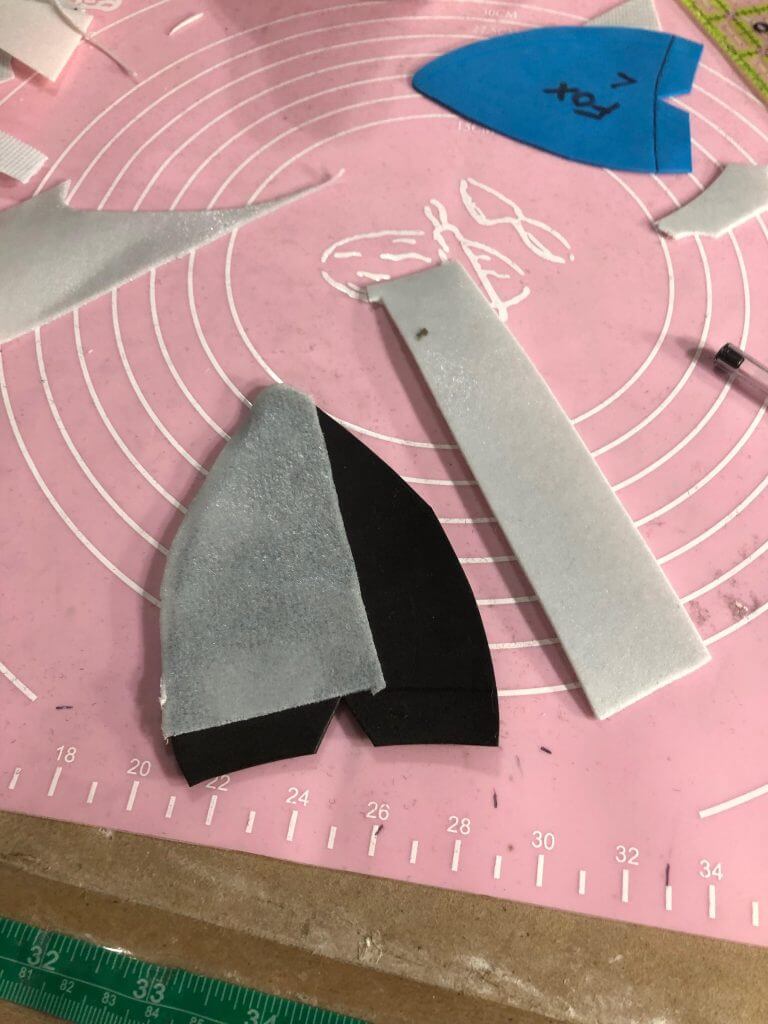
As with the mask base cover in your scraps of Wonderflex. The Wonderflex will help adhere the fur to the ears.
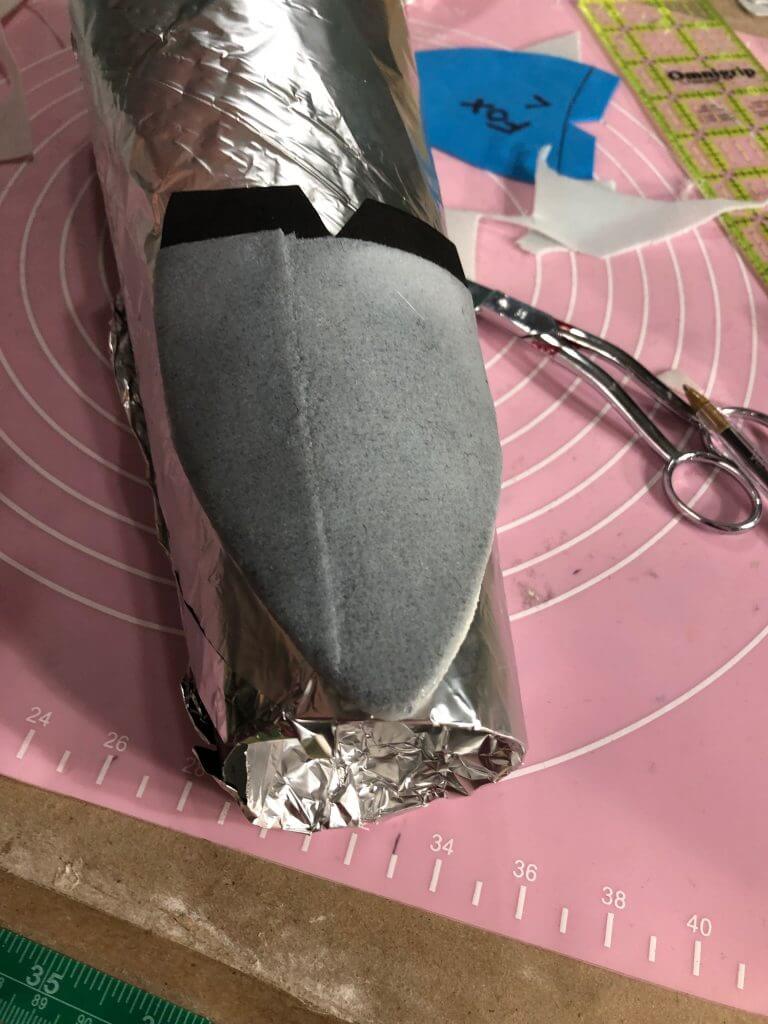
Once the ears are covered while they are still warm and malleable shape them into a gentle curve. Here a piece of aluminum flashing from the hardware store is rolled and taped to size. Covered in foil of course!
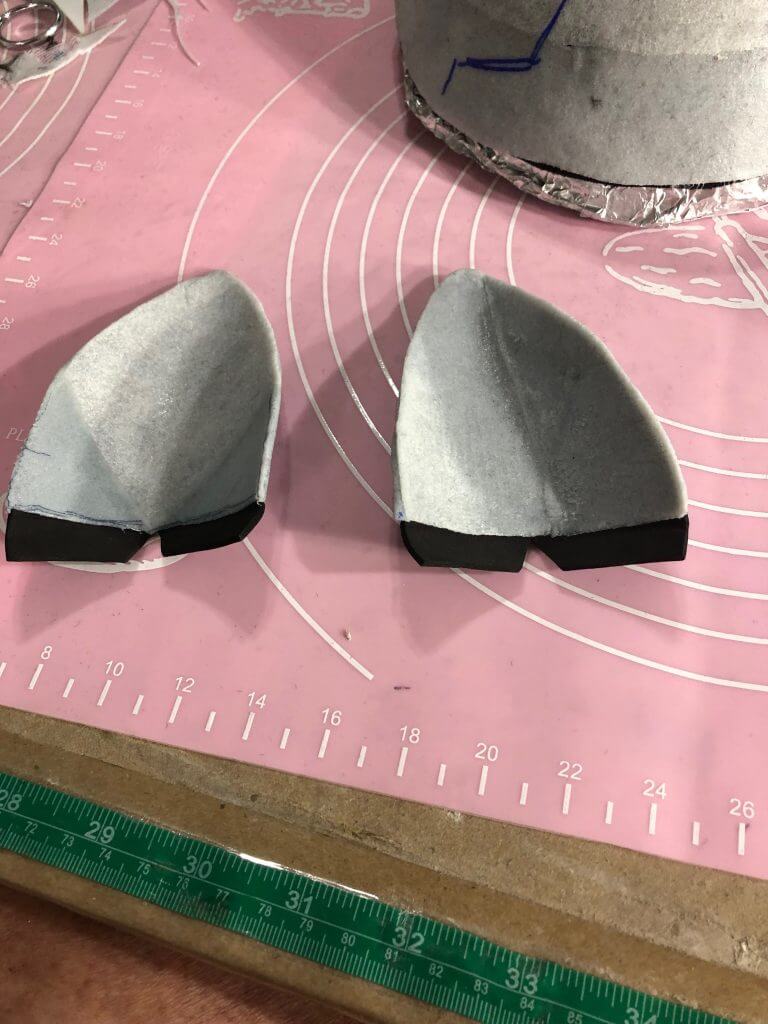
Once cooled have the ears are ready to be attached.
Mark to location to place the ears. Heat the mask Wonderflex to get it activated.
Once the ears are attached wrap the base with strips of Wonderflex to reinforce the attachment and to cover the eva foam tabs.
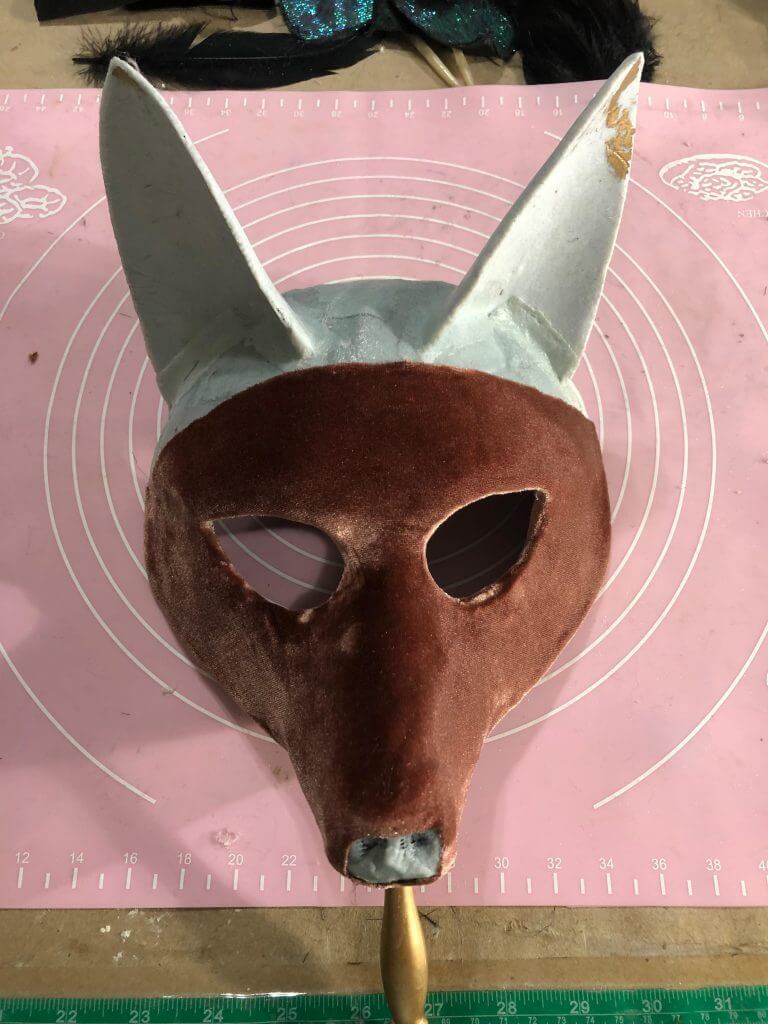
At this point you are ready to finish the mask. In this case the designer wanted it to be covered in stretch and fur. It could also be painted or embellished in many ways.
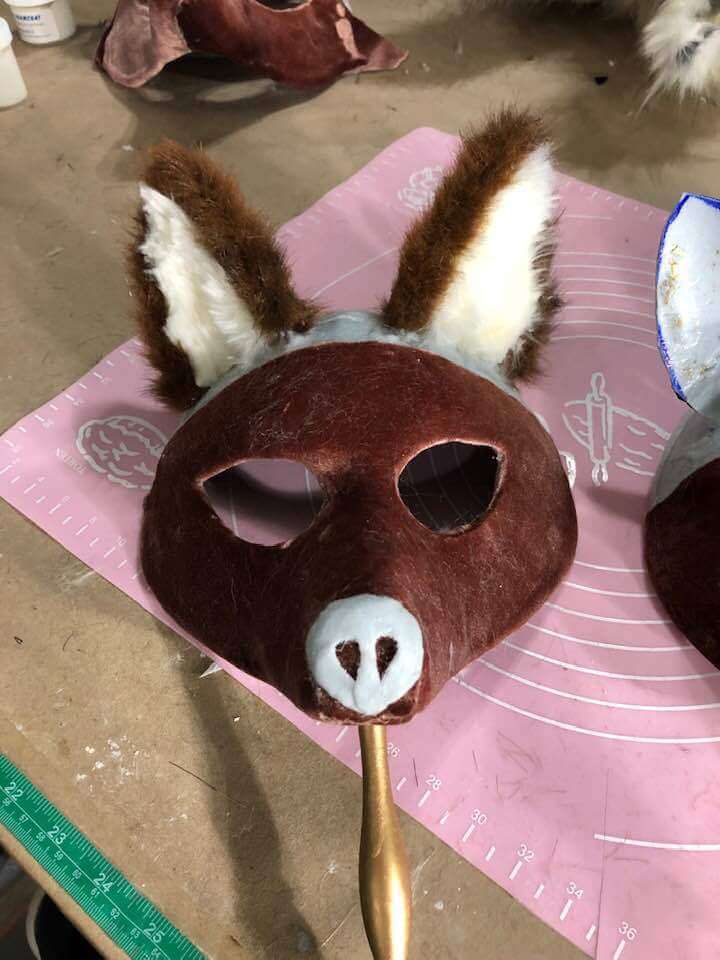
The ears are covered in fur either by gently heating the Wonderflex and using it to glue down the fur but be careful sometimes acrylic fur can melt or burn with the heat from the heat gun. In this case hot glue was used to attach most of the fur. A Wonderflex nose was added so that it would shine when painted like a wet foxes nose.
The rest of the fur was added and some details painted like the eye holes, nose and join of the fur.
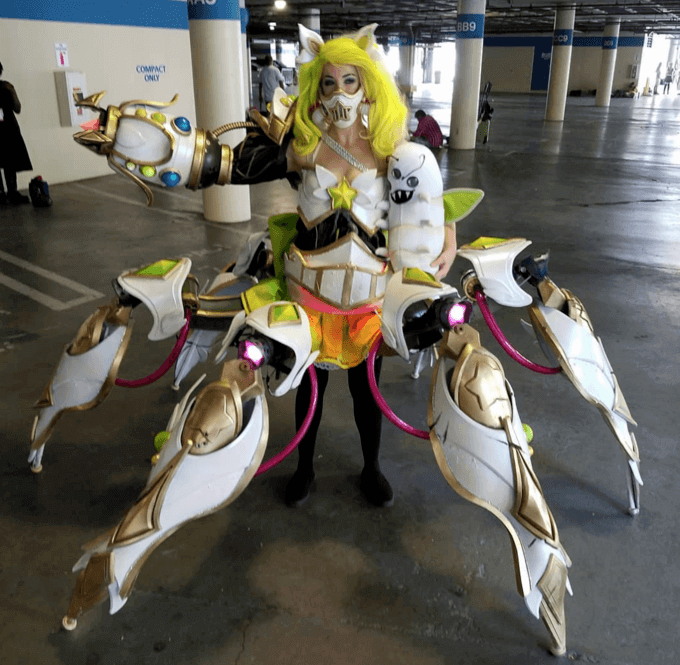
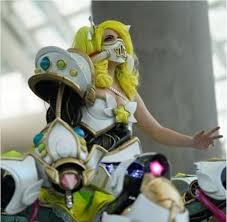
Leah Stevo in her Tarik Cosplay Wonderflex lit with LEDs
Can you tell us a little about yourself?
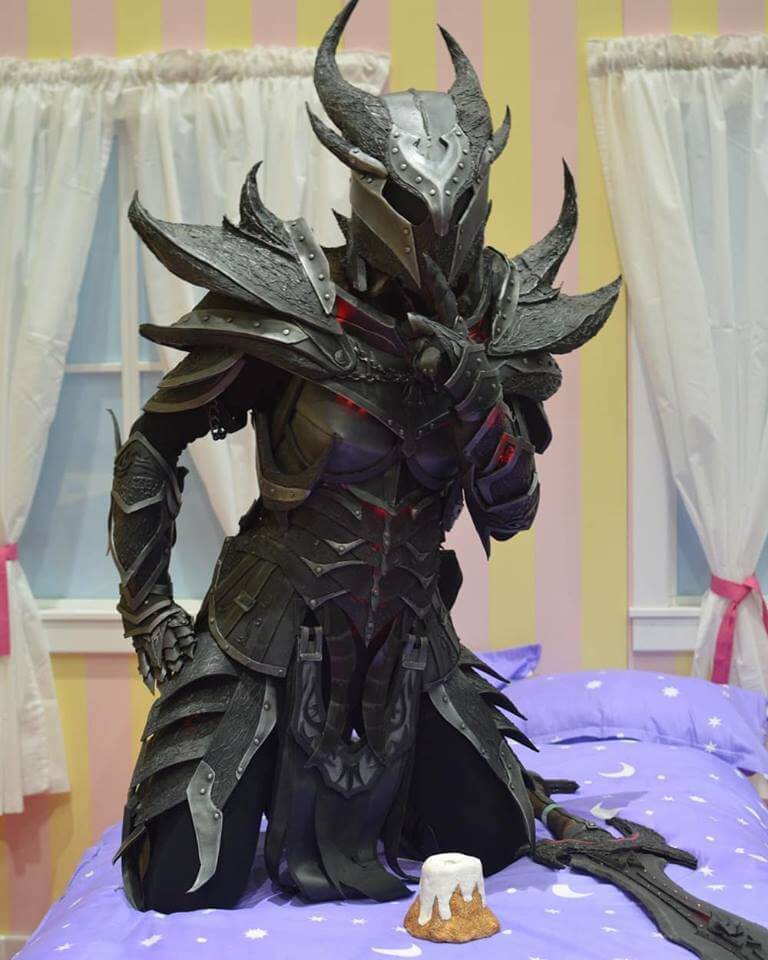
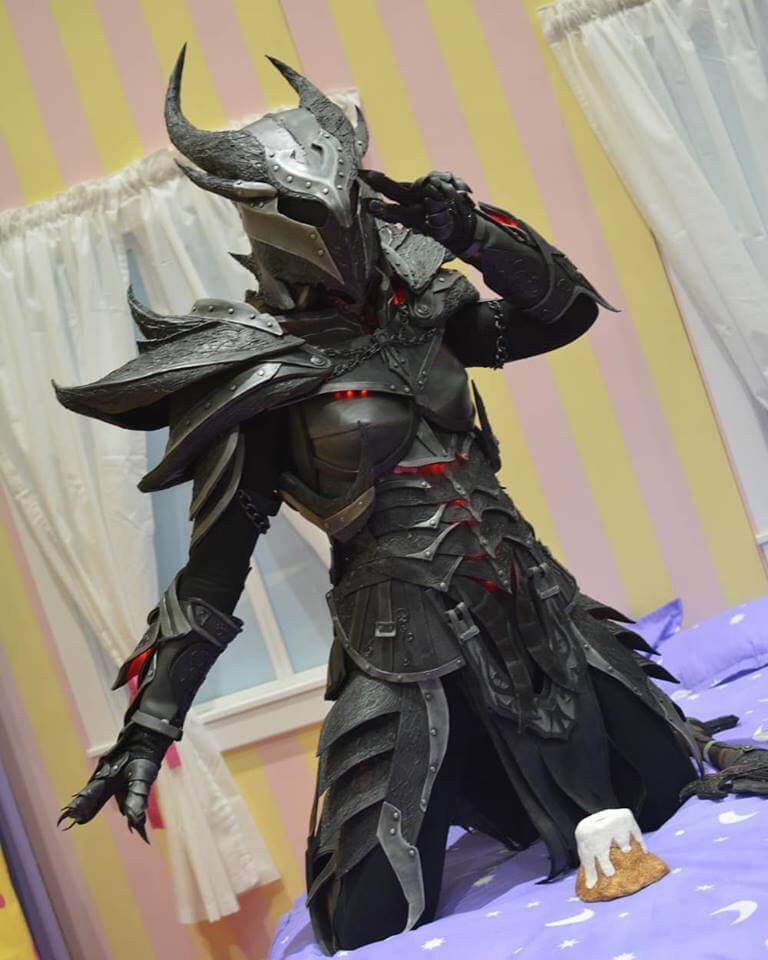
I am a lifelong video game nerd and that’s essentially what introduced me to prop-making in the first place. I tend to lose myself in games and then catch myself wishing that I could wear the armor or weapons that I encounter while playing them. I am also entirely self-taught. I started my first armor build (the Daedric Armor set from Skyrim) without knowing how to hold a Dremel or use a heat gun. I have hundreds upon hundreds of hours logged into that game, and I was pretty envious of my character and how cool he looked in his armor set. I thought why not try and make a set for myself? I went in with basically zero knowledge of costuming and fabrication, and built the whole set entirely out of a yoga mat and discarded floor mats I had acquired from work. It’s also how I learned that hot gluing everything together isn’t going to hold up for very long! I think with all the repairs I’ve made to it so far I must have already rebuilt the entire set at least twice. The passion I had for the first project and the absolute unshakeable need to get it done was the reason I was able to power through tons and tons of frustration and mistakes. I haven’t had any formal training in terms of fabrication or the materials I use. Just a TON of sitting down and reading and learning. I don’t want anyone to think that creating the costume of their dreams is beyond their reach. It took thousands of hours of research, and tutorials, and trial and error to acquire the skillset I now have, but I loved every second of it. I’m still learning and still growing as a maker. All of us are. Learning is the best part.
You are currently a props artisan. Where do you work and how did you get into making props full time?
Thanks to the skills I’ve acquired in the cosplay and prop-making world, I landed a dream job as a full-time maker. I’m currently serving as the casting & molding specialist at Meow Wolf here in Santa Fe. I feel super fortunate that I get to create art for a living. I first realized while doing props as a hobbyist that I absolutely thrive on the endless stream of challenges that arise from pulling ideas out of screens and heads and being tasked with bringing them into reality. It turns out that the seemingly weird skill set I acquired as a costume armor and prop builder was exactly what Meow Wolf needed to add to their team! The techniques I use at work every day have helped me in my cosplay work as well, so I feel incredibly energized when I get home to work on personal projects and commissions.
When did you realize you wanted to get into cosplay?
I never really wanted to get into “cosplay” as much as I wanted to get into fabrication and “making”. I didn’t know what cosplay was at first, only that I wanted to make a full set of armor from my favorite video game, no matter how long it took. But I finished it and even though I felt insanely proud of it, I remember the terror of walking across the parking lot for the first time, dressed head to toe in floor mats, getting ready to walk into my first convention in a costume. I was thinking “oh my God who does this? I probably look ridiculous” and I almost turned around. But as soon as I walked in the doors I felt the magic of others recognizing what I had built, and being able to bring something virtual to life and geek out with other fans. I didn’t have many friends before this because I am incredibly shy and anxious about socializing in general. But I realized this is something that brings people like me together in the most earnest and exciting ways and I have never looked back.
What is your favorite cosplay that you have made?
I consider all of my costumes and props my children. But to pick a favorite, definitely Star Guardian Urgot. Even though it now takes up half of my garage. I put EVERYTHING I had learned up until that point into Urgot. Robotics, LEDs, sewing, armorsmithing, everything. I really wanted to push myself to my limits in terms of size, complexity, and original design. I wanted it to happen so badly for Urgot, it was such a crazy idea and the community support was so strong that it was an easy choice to begin. I treated it kind of like a thesis project and with the exception of a few structural issues that I’ll need to address before I wear him again (HE IS SO HEAVY OMG), I am so proud of how it all turned out!
What has been your highest achievement as an artist/cosplayer?
This might be
the part where I am supposed to list awards that I have won but honestly,
overcoming the crippling effect of social anxiety and actually being able to
sit here and consider myself a worthy artist has been the most important
achievement to me. After 30 years of struggling with self-image I don’t think I
could have ever seen myself the way I do now without the cosplaying and
propmaking community. Seriously, you’re all amazing!
For a close second, I have to say getting to walk the BlizzCon stage as a costume finalist is the most surreal dreamlike experience I’ve had. I watched the costume contest and dreamed of being good enough to walk that stage for YEARS. I still can’t believe I’ve been able to do it TWICE. I can’t even think about it without getting nervious. The Blizzard stage is just epic!
Do you have a story of a problem that you had to overcome or figure out how to solve using unconventional techniques or ideas?
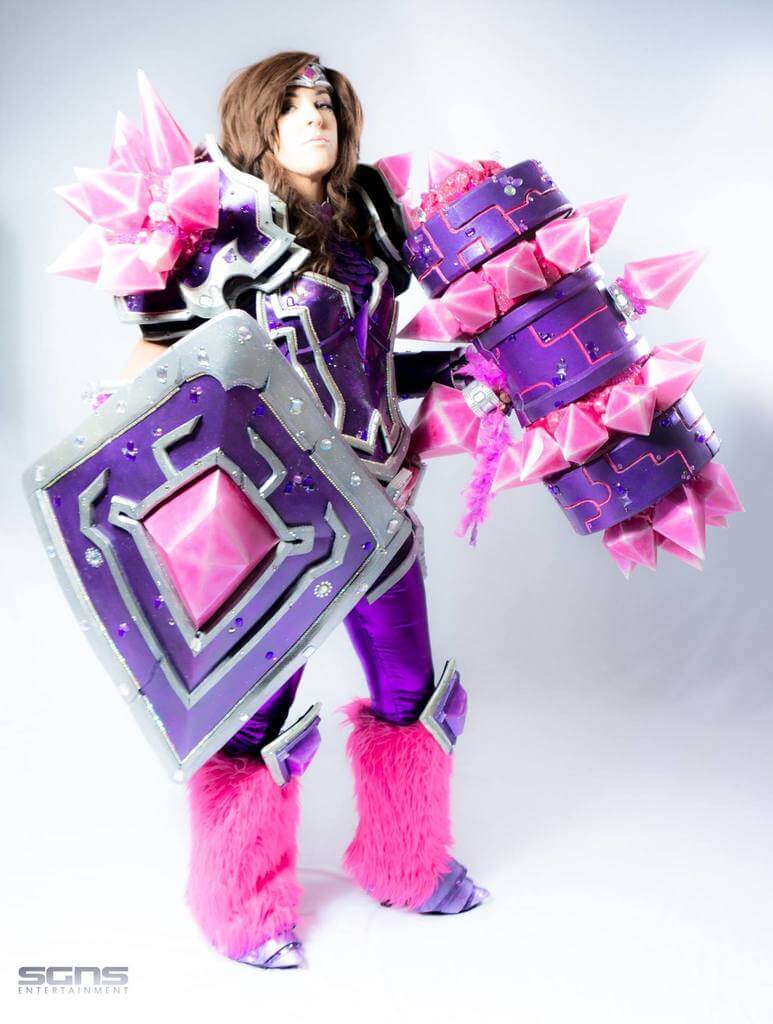
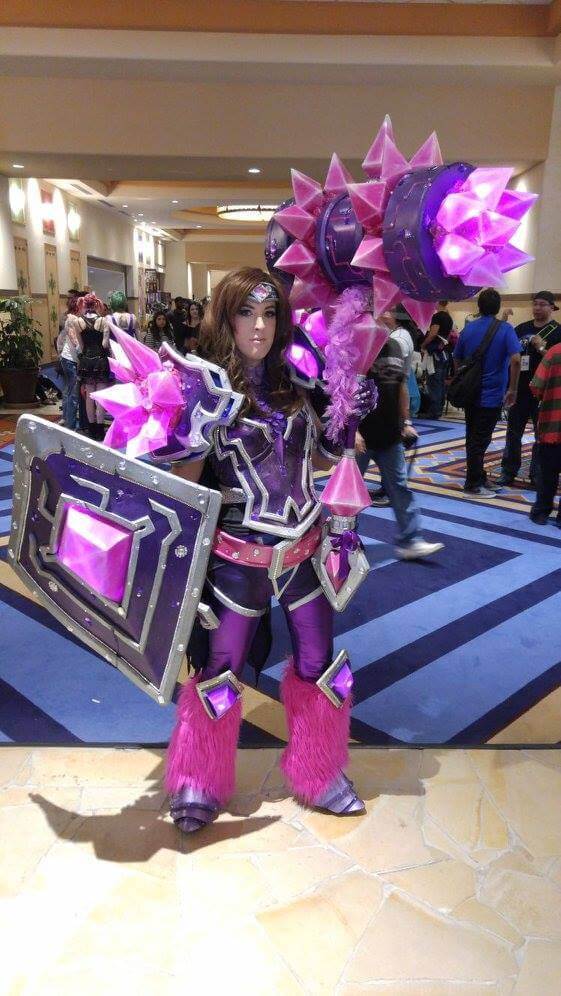
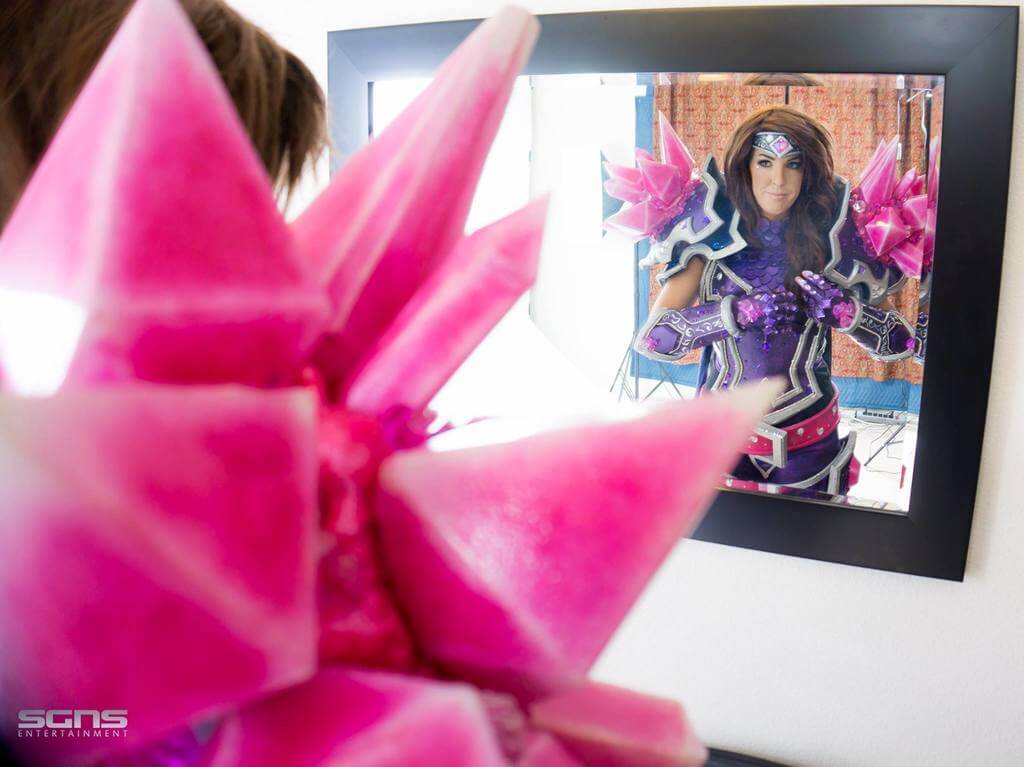
Absolutely, when I first started building Taric (the pink armor) I knew that I wanted all of his gems to glow brightly from within. However, at that point in my making career I was super intimidated by the process of casting and mold-making and figured it was sorcery that I could never master in time. I was stumped on how to create glowing gems without using clear resin or expensive acrylic sheeting. It was during this struggle that I discovered standard Wonderflex is INSANELY good at diffusing LED lighting and giving me the exact magical glow effect I needed. I ended up folding Wonderflex like paper origami to create the faceted gems I needed, painting it with translucent paints, and putting LEDs inside the hollows of each shape. I am a huge evangelist for this method now, as it’s super cost effective, lighter weight than resin or acrylic, and Wonderflex is faster to heat form than other translucent thermoplastics
What are your favorite materials, for construction, glues, painting etc?
Foam is my
bread and butter. I find the EVA foam from TNT Cosplay and SKS Props to be the
highest quality, but I regularly use foam from hardware stores and craft
stores. Foam is inexpensive, lightweight, easy to shape and edit, and quite
durable when treated properly. My most reliable adhesive for foam has always
been Barge contact cement. It’s a bit pricey but I’ve never had it fail. I also
try and incorporate mechanical attachments as much as possible, so I use a ton
of Chicago screws, washers to protect the foam, and neodymium magnets. I’m also
a big fan of Golden high flow acrylics for their transparency, and Liquitex
Heavy Body acrylics for super vivid colors (when I don’t need a surface to
transmit light). My absolute favorite thermoplastic is Wonderflex Pro, and I
know someone is going to think I’m just “saying that” but it’s the smoothest,
most rugged plastic I’ve worked with and it’s versatility has saved me so much
time. It’s been a staple in my shop since it came out.
Leah was one of our beta testers of our new Wonderflex Pro. Here are some of the insights she has on our Pro!
If you are interested in following Leah and her fabulous work or commissioning a project. Find Leah on Instagram @leahstevoart, or Facebook @LSTVO