Menu
Mask Making a Step by Step Tutorial using Fosshape and Wonderflex scraps.
By Candy McClernan | Masks
By Candy McClernan | Masks
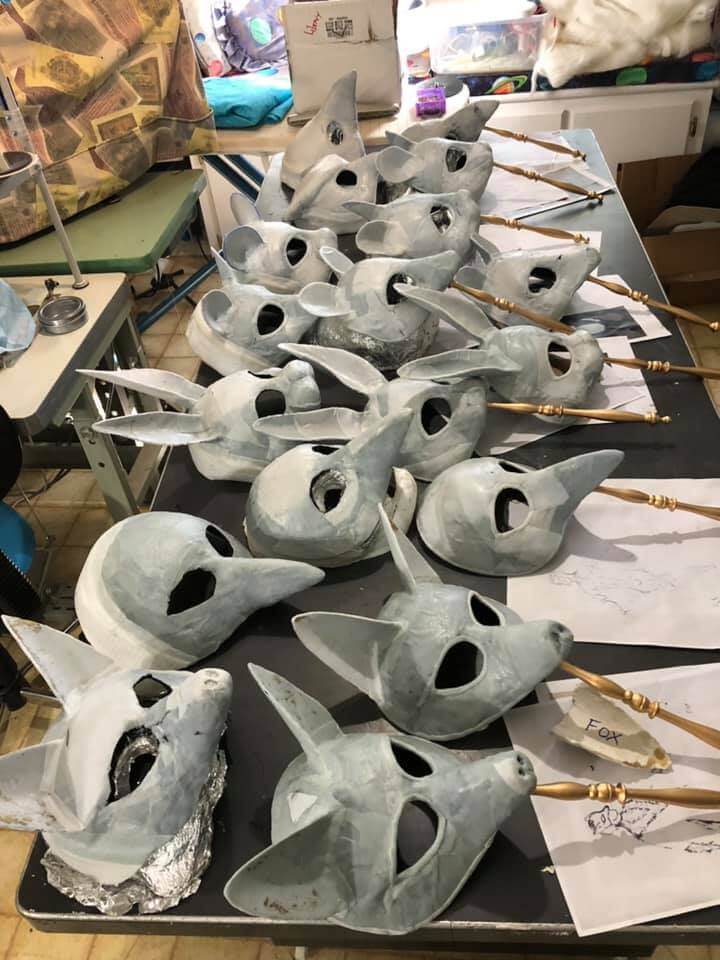
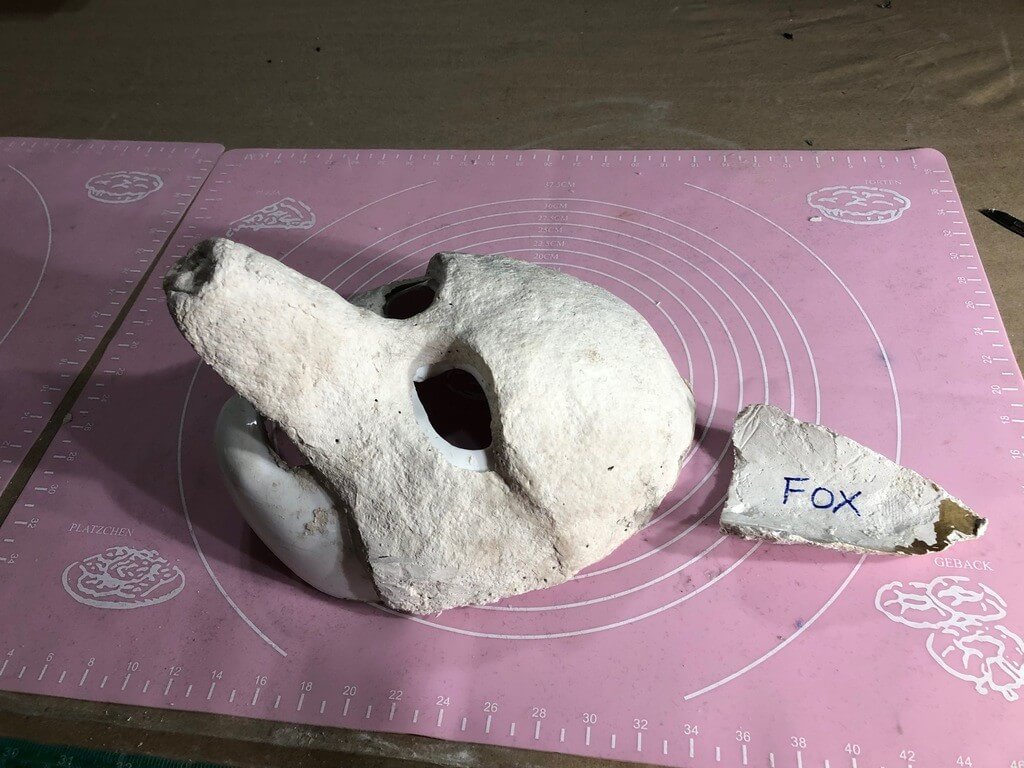
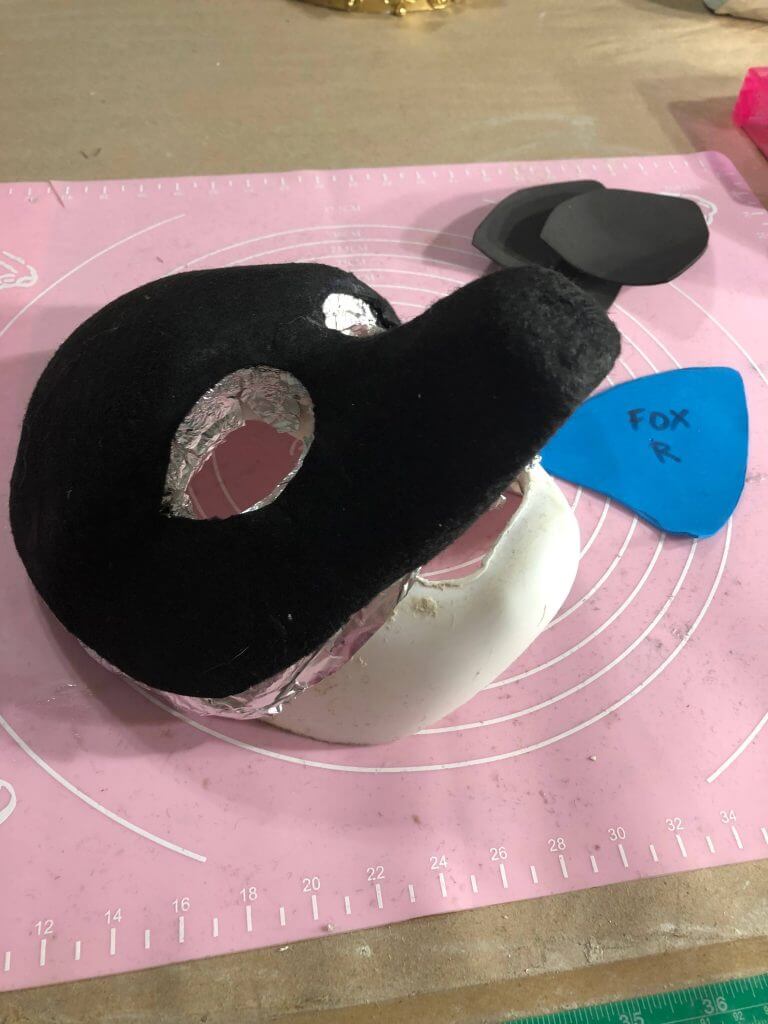
Sculpt your base matrix. This fox base was sculpted from paper mache clay. It is easy to use and can be pinned into. You can use air dry clay or any number of materials to get your base form.
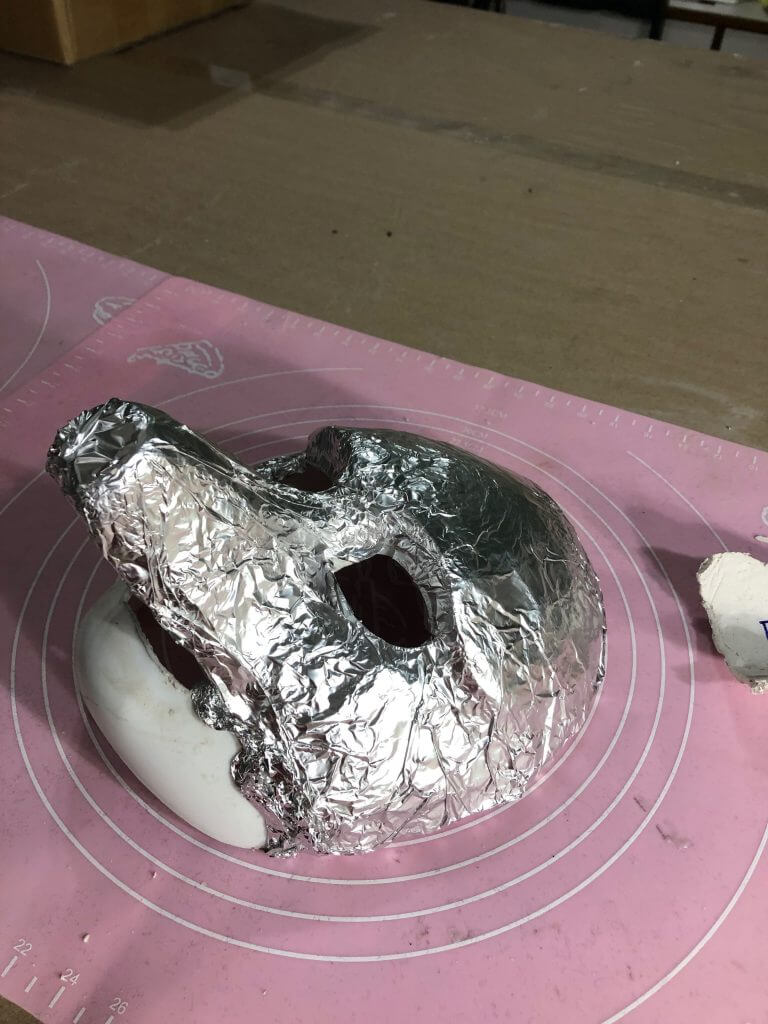
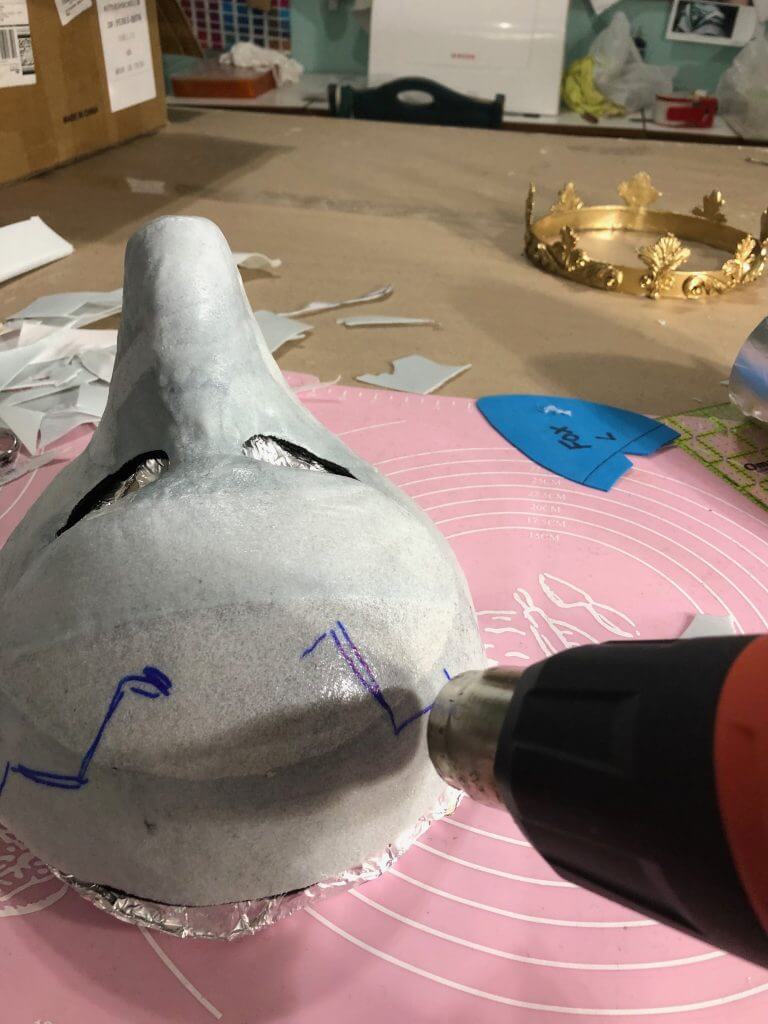
ALWAYS cover your base matrix in a release agent. Here the foil protects the paper mache base from heat and steam from the Fosshape layer. Wonderflex can be used alone to form the mask and it would adhere to the foil and not your base.
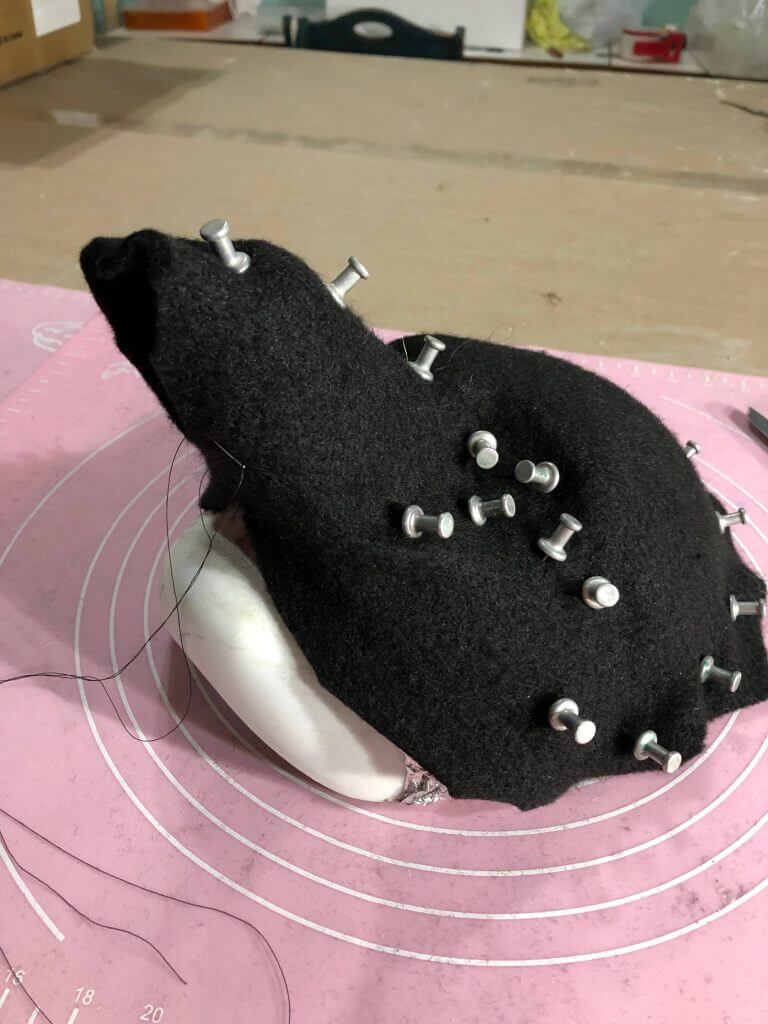
For this fox mask Fosshape is pinned to the base in preparation for steaming. Fosshape is a base for the mask and remains somewhat soft for the wearer. You can use Just Wonderflex. Remember to leave extra around the edges to allow for shrinkage.
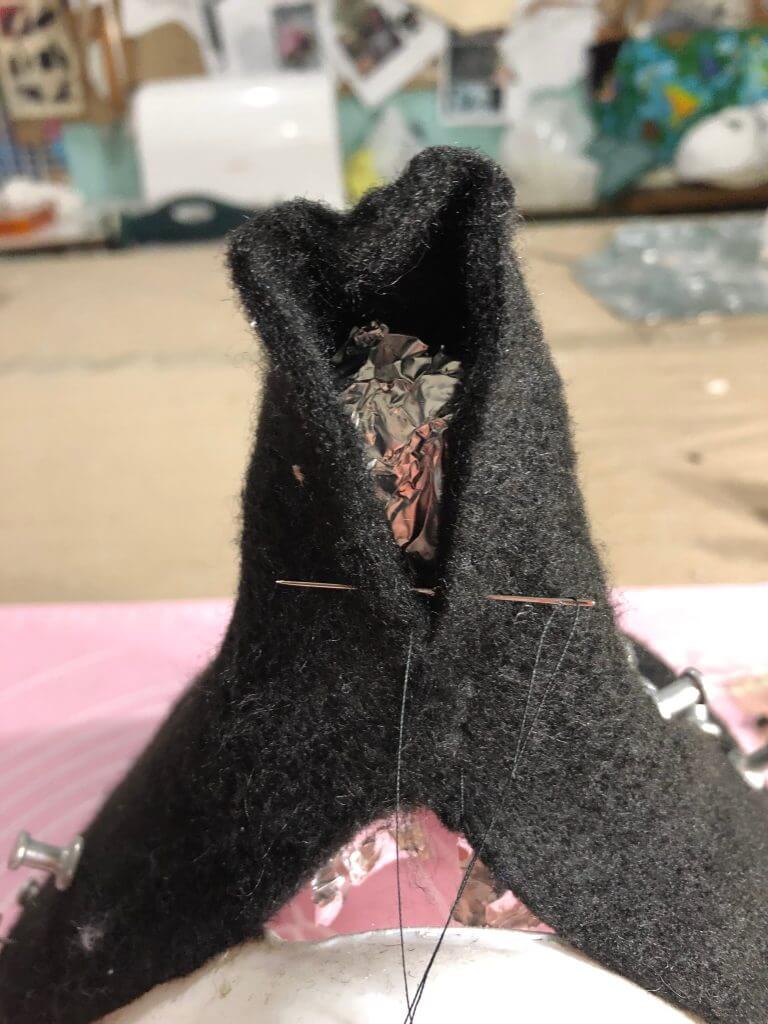
Stitch the seam to form the snout cutting away the excess. Once the Fosshape is steamed and pressed the seams virtually disappear.
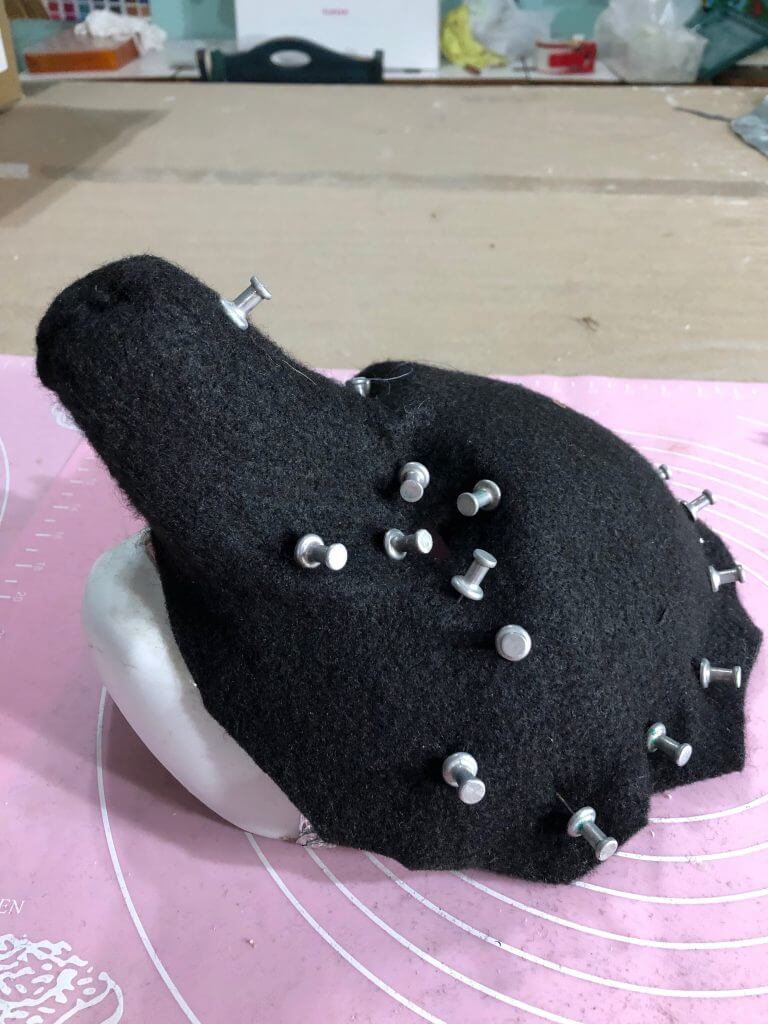
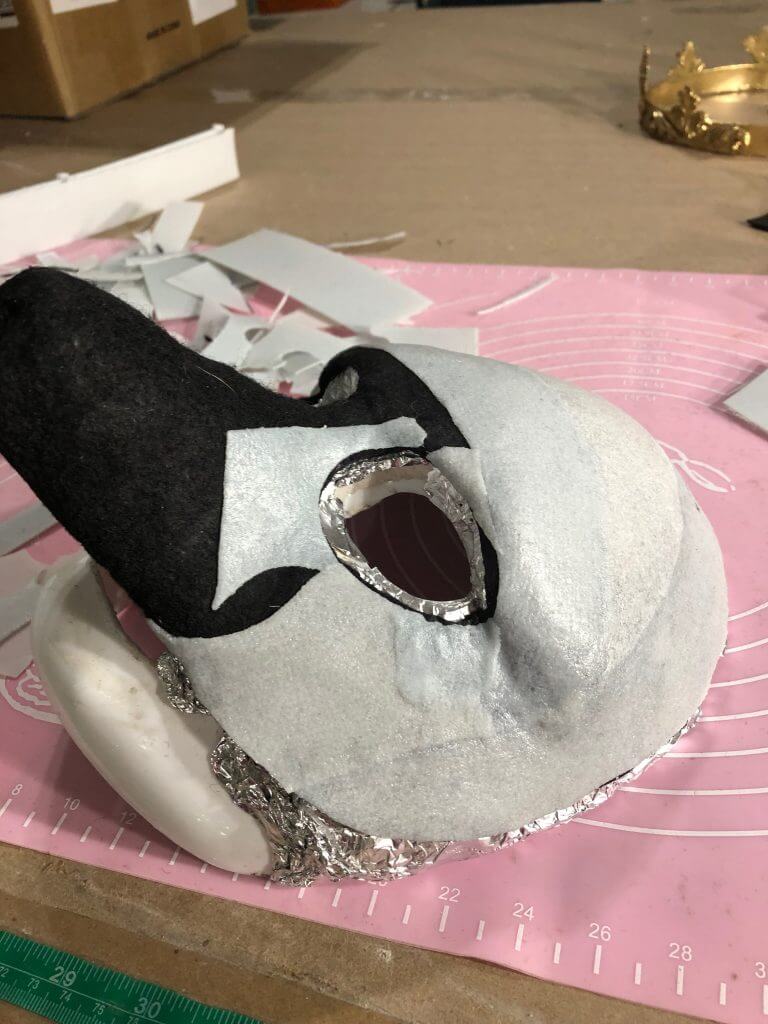
The mask is now ready to be heat activated with steam and pressure.
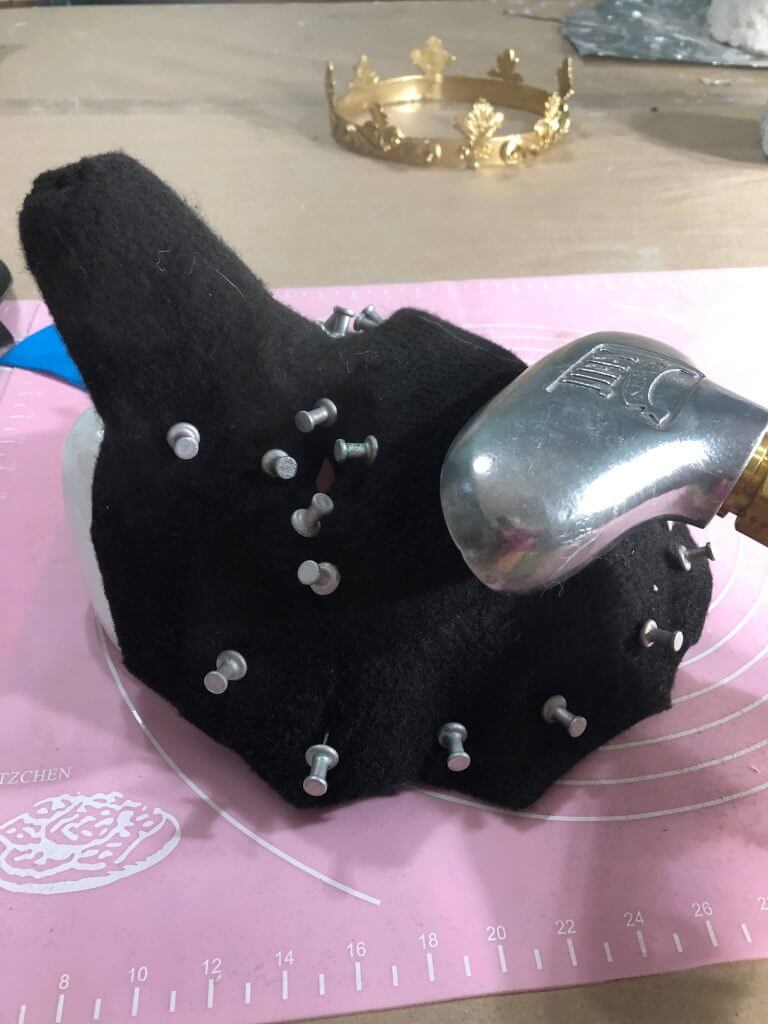
Using a steamer or a steam iron activate the Fosshape. The more heat and pressure the more rigid the Fosshape becomes. Remove the pins as you work your way around the mask.

The area around the eye holes are easier to form if you put a small slit into the center of the eye hole. Don’t cut away any or make it too large so that when the Fosshape is activated it will not shrink beyond where you want the eye hole.
Once the Fosshape is fully activated and firm remove from the matrix and trim the edges and eyes.
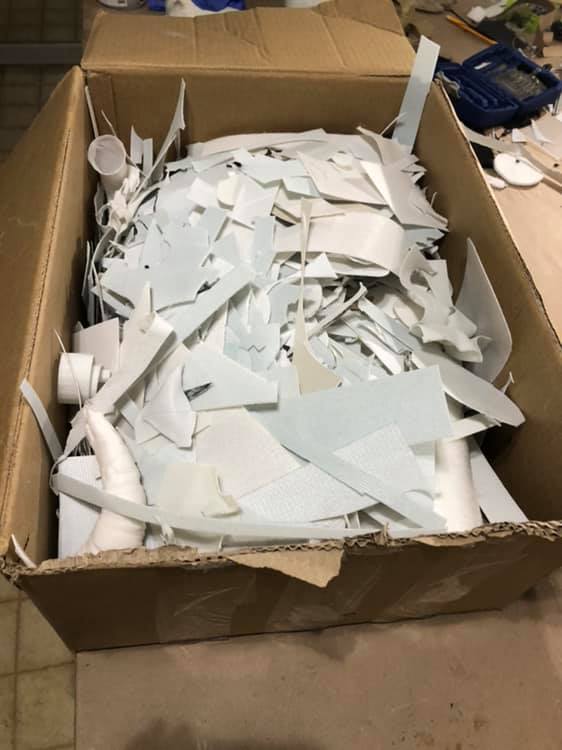
Now for the fun part! If you have scraps lying around use those to build your mask. You can start with a fresh sheet but there is something satisfying about using up scraps.
Now lets play tetris! Heat your Wonderflex scraps and begin adding them to the Fosshape mask. Overlap the edges.
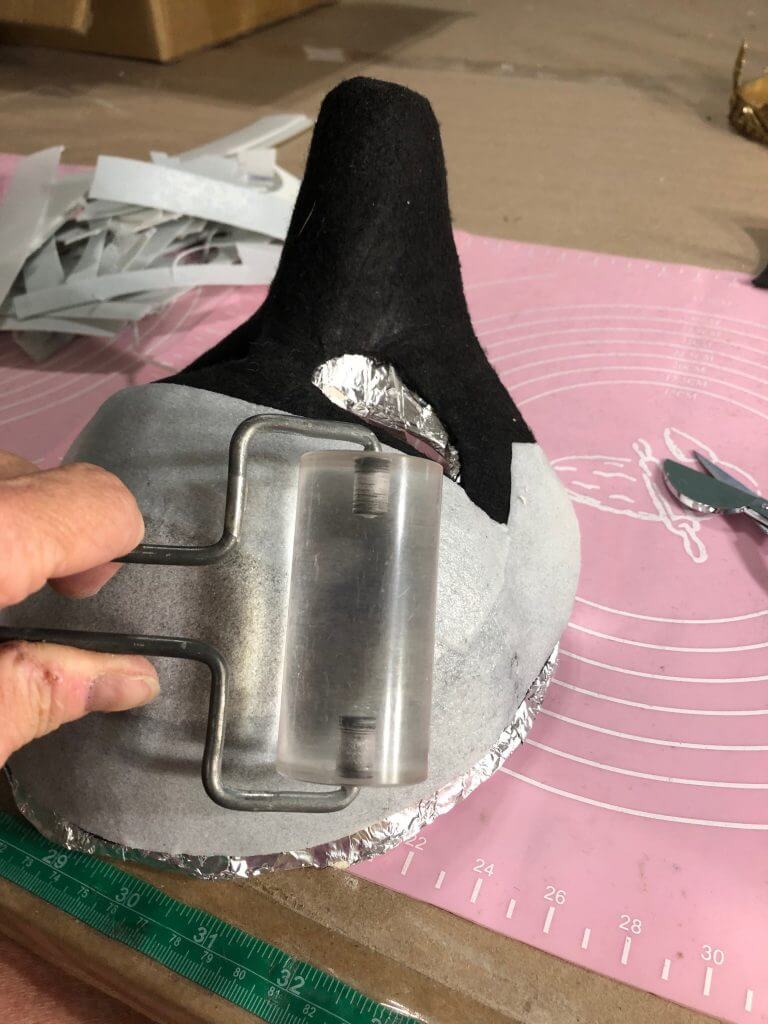
To smooth out all those joins us a roller, fingers, back of a spoon to blend the edges. Make sure the Wonderflex is heated to where it is just malleable but not too hot to stick to the roller, spoon or your fingert! I like to keep a cup of water next to where I work dip my finger in to test the Wonderflex.
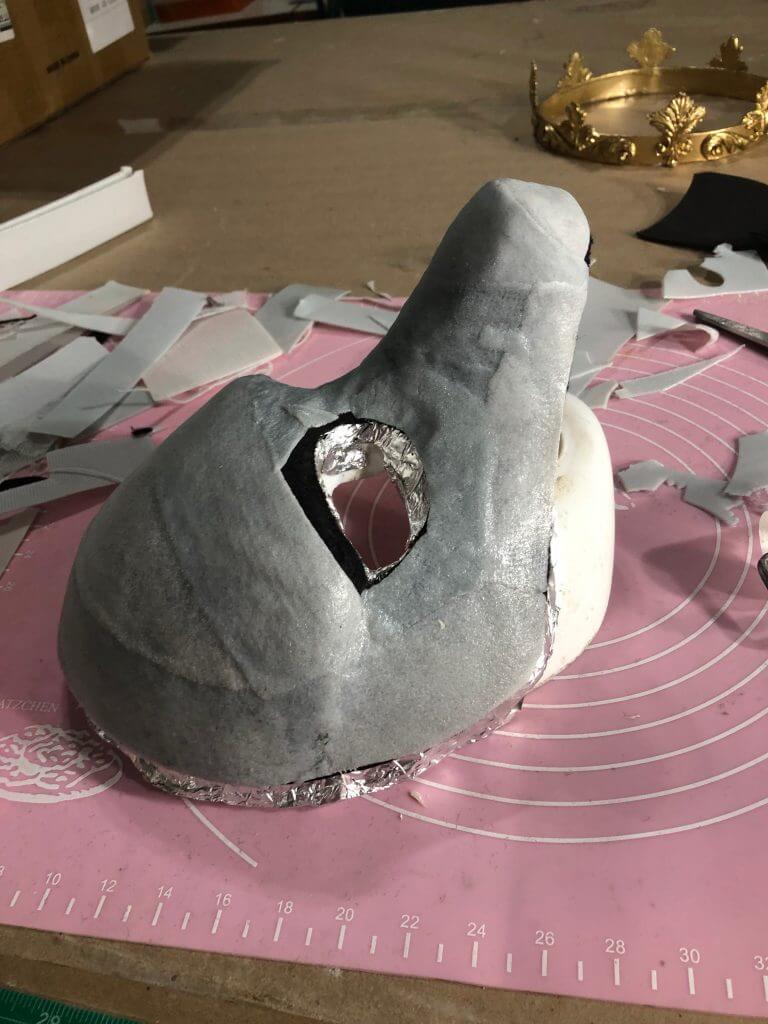
For this application the mask is being covered with furs and fabrics so the seams do not have to be perfect.
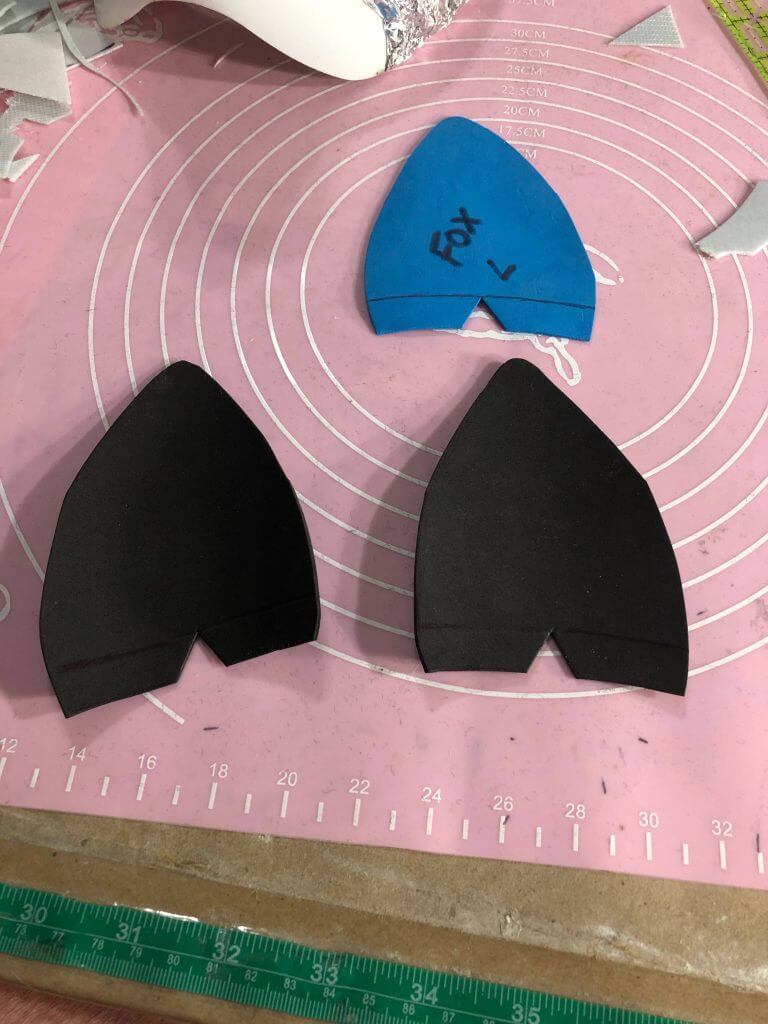
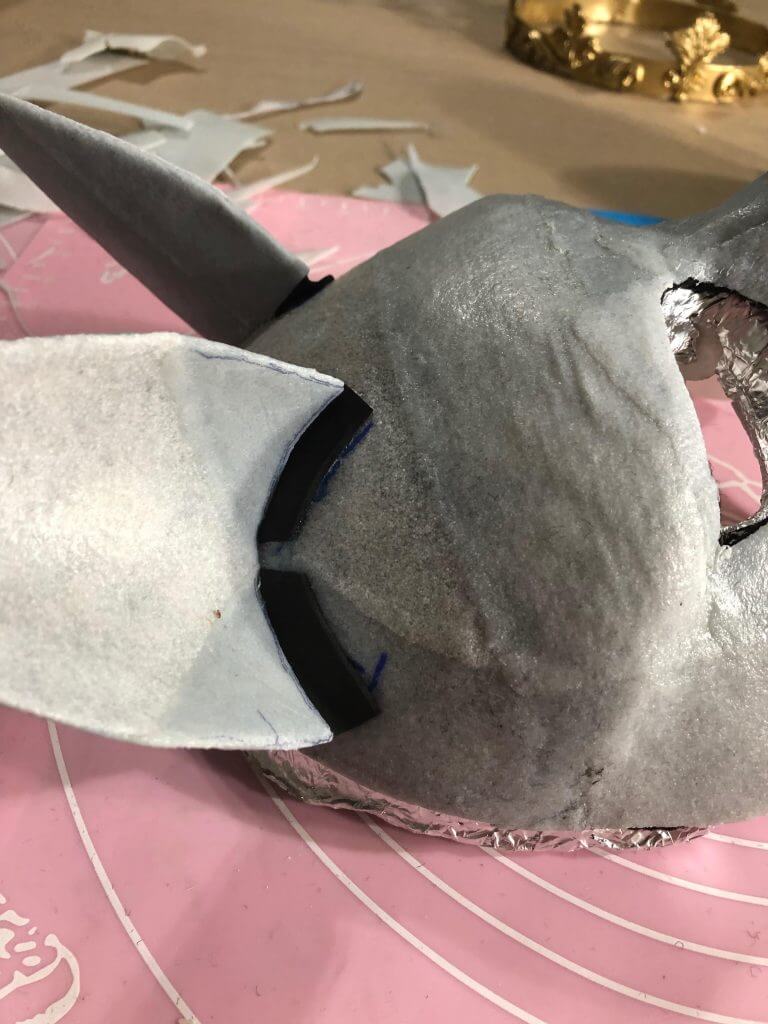
Now for the ears. Cut your ears out of eva foam or you can make them out of Fosshape. For this application they needed to be rigid and covered with fur so eva foam and Wonderflex is the way to go.
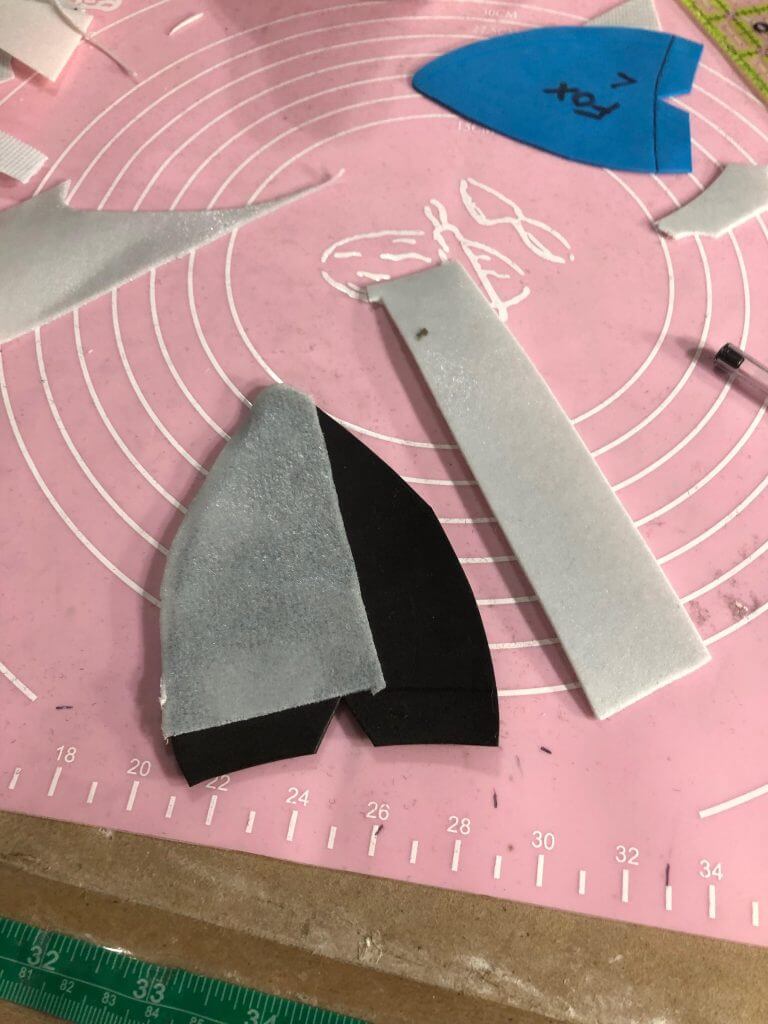
As with the mask base cover in your scraps of Wonderflex. The Wonderflex will help adhere the fur to the ears.
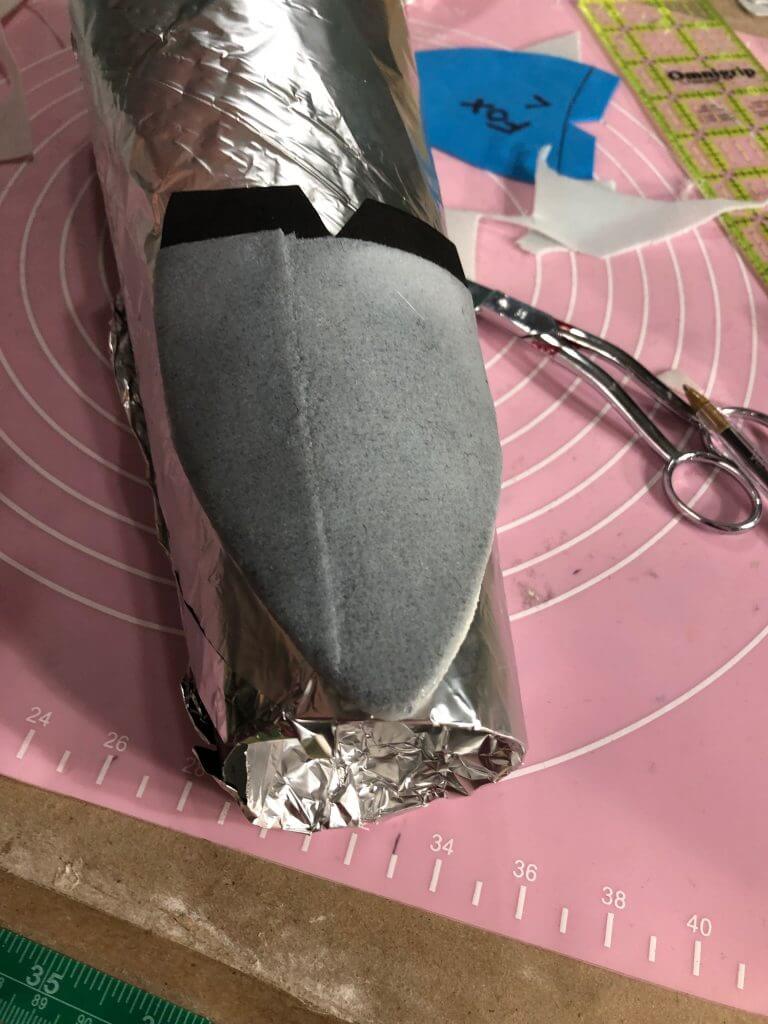
Once the ears are covered while they are still warm and malleable shape them into a gentle curve. Here a piece of aluminum flashing from the hardware store is rolled and taped to size. Covered in foil of course!
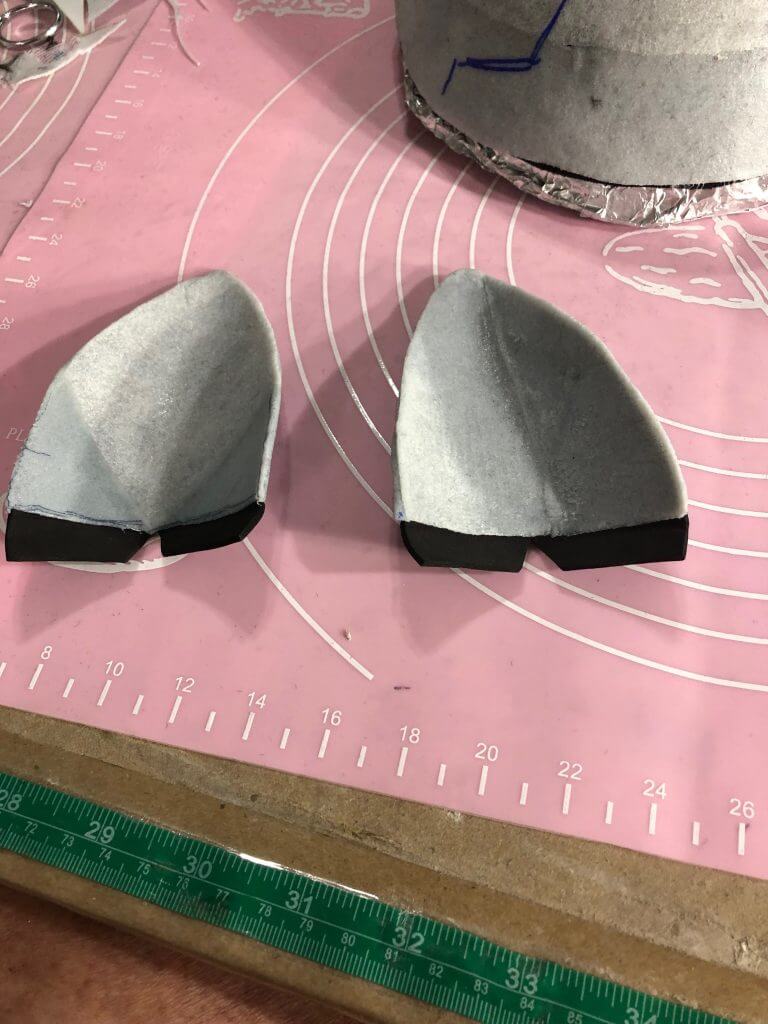
Once cooled have the ears are ready to be attached.
Mark to location to place the ears. Heat the mask Wonderflex to get it activated.
Once the ears are attached wrap the base with strips of Wonderflex to reinforce the attachment and to cover the eva foam tabs.
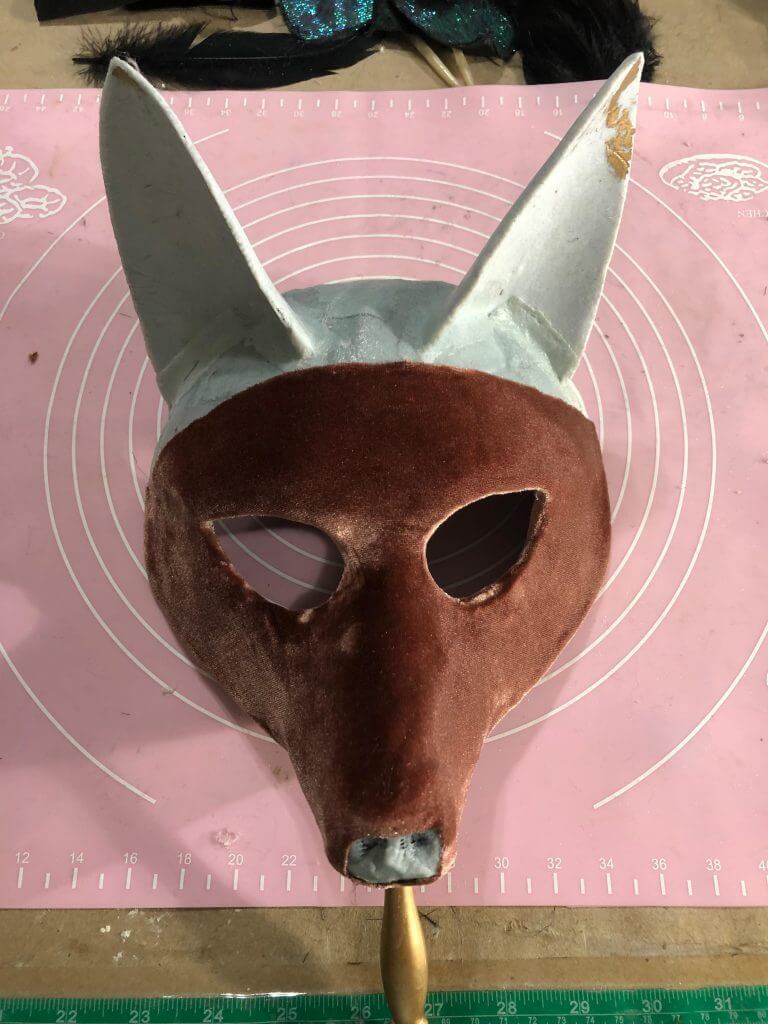
At this point you are ready to finish the mask. In this case the designer wanted it to be covered in stretch and fur. It could also be painted or embellished in many ways.
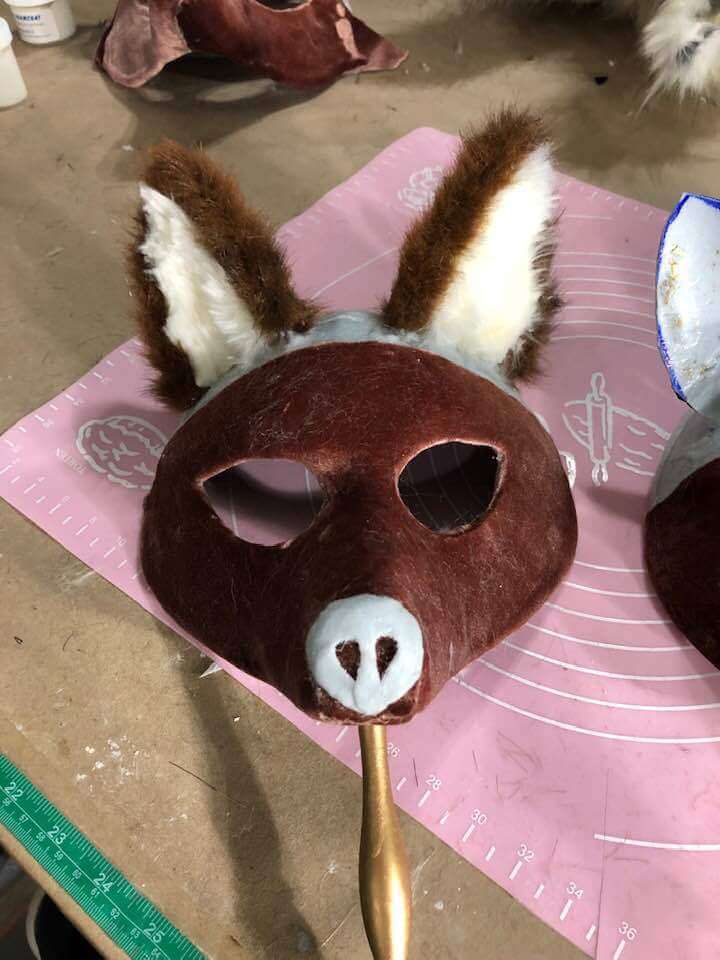
The ears are covered in fur either by gently heating the Wonderflex and using it to glue down the fur but be careful sometimes acrylic fur can melt or burn with the heat from the heat gun. In this case hot glue was used to attach most of the fur. A Wonderflex nose was added so that it would shine when painted like a wet foxes nose.
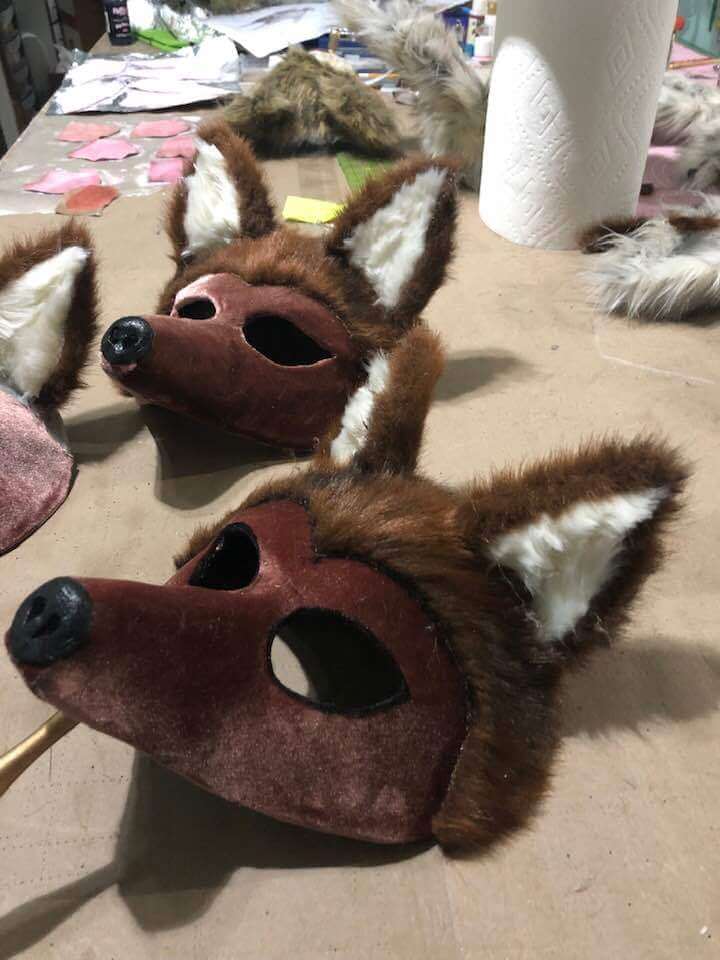
The rest of the fur was added and some details painted like the eye holes, nose and join of the fur.
Creative Director, newly hired by Wonderflex World as the social media coordinator and product demonstrator. She received her MFA in costume production from UNC Chapel Hill in 2014 and now works freelancing for regional theaters, ballet and film. While specializing as a Crafts Artisan, she fell in love with the products Wonderflex and Fosshape and a passion was born. She is looking forward to share her enthusiasm using these products, with newsletters, blogs and videos on social media as well as running workshops and attending conferences spreading the word about thermoplastics. You can see some of Candy's work at Candymcclernan@crevado.com.